Home EV Charger Maintenance: Annual Checklist
Home EV charger maintenance: the annual checklist covering cables, connections, firmware, and enclosure — what to inspect and when to call an electrician.
10 MIN READ · UPDATED 2026-09-22
Key takeaways
- Annual EV charger maintenance is a 30-minute inspection, not a repair project: cable, connector, outlet, app, enclosure — catching small issues before they grow.
- Feel the plug after a session (warm is fine, hot is not), look for outlet discoloration, and never ignore a breaker that trips more than once.
- Every 2-3 years, have a licensed electrician verify termination torque and thermal-scan connections under load — loose terminations cause most overheating incidents.
- Keep firmware current but never update right before a storm; audit charge schedules yearly since utilities change time-of-use windows.
- Call an electrician immediately for burning smells, hot plugs, repeated breaker trips, arcing, or damaged cable — everything else can wait for the annual check.
Your EV charger is the hardest-working appliance you never think about: it pulls more current than your dryer, runs for hours at a time, hangs on a garage wall through summer heat and winter cold, and gets plugged and unplugged thousands of times. Most units run a decade with barely a glance — but "barely a glance" is how a $40 cable problem becomes a $400 repair, or how a loose connection smolders unnoticed. An annual maintenance check takes about 30 minutes of your time plus a professional look every few years. Here's the complete yearly checklist: what to inspect, what to clean, what to update, and when to call an electrician instead of reaching for a screwdriver.
Why a Charger Needs Maintenance at All
It's tempting to file the EV charger under "install and forget" — no moving parts, no filters, no fluids. But three factors make periodic attention worthwhile. First, continuous high current: a 40A charger running nightly thermally cycles its connections — heating under load, cooling at rest — and thermal cycling loosens terminations over years. Loose connections raise resistance, which raises heat, which loosens them further: the classic slow failure curve. Second, mechanical wear: the cable gets dragged, dropped, run over, and yanked; the connector's pins and latch wear with every insertion. Third, environment: garage dust, humidity, insects, UV on outdoor units, and the occasional sprinkler overspray all attack enclosures and seals.
The good news: EV chargers are fundamentally simple and robust, and maintenance is inspection-heavy, repair-light. You're not rebuilding anything — you're catching the small stuff early. Think of it like checking tire pressure: five minutes of prevention against a failure mode that's entirely avoidable. And there's a warranty angle too — several manufacturers require reasonable maintenance and can deny claims for damage from obvious neglect (a wasp nest in the enclosure, a cable chewed by rodents). The checklist below keeps you covered on both fronts.
The Cable and Connector: Your Hands-On Inspection
Start where your hands go every day. Run the full cable length through your hands (charger off, or at least not actively charging) feeling for flat spots, cuts, cracking, or soft sections in the jacket. Pay special attention to the first two feet out of the unit and the last two feet before the connector — stress concentrates at both ends. Surface scuffs are cosmetic; any cut that exposes inner insulation, any section that feels flattened or kinked, or any cracking in the jacket means the cable assembly needs professional replacement ($150–$350 parts plus labor). Don't tape over damaged high-voltage cable and call it fixed.
Inspect the connector itself: the pins should be clean and bright, the latch should click positively into the car's port, and the rubber seal around the connector face should be intact. Burn marks, pitting, or discoloration on the pins indicate arcing — stop using the charger and call an electrician, because arcing means a poor connection that's generating heat. A connector that fits loosely or needs wiggling to start a session is worn out; replacement handles are available for most major brands and far cheaper than the fire risk of a sloppy connection.
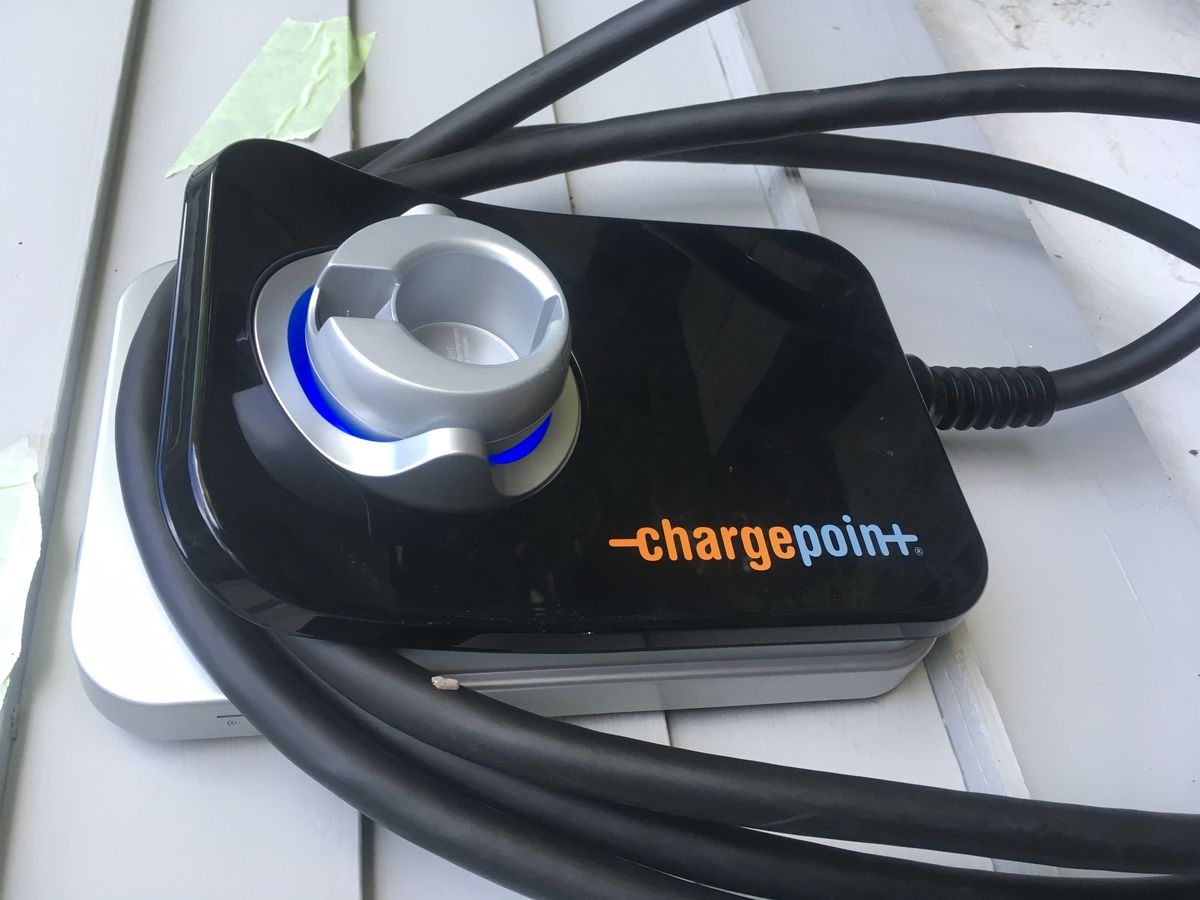
Finally, check cable management: the cable should hang on its holster or hook, never coiled tightly around the unit (tight coils trap heat and stress the jacket) and never lying where cars drive over it. If your setup has the cable draped across the floor, a $30–$60 wall-mounted cable reel or overhead retractor pays for itself in cable life. Cold-climate note: cable jackets stiffen below freezing — never force a stiff cable into tight bends, and let it relax before coiling.
Electrical Connections: Look, Don't Touch (Mostly)
This is the inspection with the strictest safety boundary: you look, the electrician touches. With the charger powered, do a visual and sensory check of everything you can see without opening anything. Look at the plug-in outlet (if applicable) for discoloration around the slots — any browning or melting means stop using it immediately and call an electrician. Feel the plug body after a charging session: warm is normal, hot is not. Sniff for the sharp, acrid smell of overheated plastic or insulation — your nose is a legitimate diagnostic tool here.
At the panel, check that the charger breaker isn't running hot (carefully touch the breaker face — it should be near room temperature, not warm) and that it hasn't been tripping. A breaker that trips occasionally and gets reset is telling you something — breakers trip for reasons, and "nuisance" trips on EV circuits usually trace to loose terminations, GFCI coordination issues, or an overloaded panel, all of which need a professional. Note the charger's indicator lights during a session and compare against the manual: unfamiliar blink patterns are the unit trying to tell you something.
Every 2–3 years, have a licensed electrician open the unit and the outlet box to check termination torque — connections loosen over years of thermal cycling, and re-torquing to spec is a 20-minute job during a service visit ($150–$250 as a standalone call, often bundled free with other electrical work). This is the single highest-value professional maintenance item: loose high-current terminations are the root cause of most charger-related overheating incidents. Costs are 2026 US market ranges; get itemized local quotes.
Firmware, App, and Network Health
Your charger's software needs maintenance too. Check for firmware updates in the app — manufacturers push updates for safety fixes, utility program compatibility, and bug patches. But apply the storm-season rule: don't run a manual update in the 72 hours before a forecasted major weather event, in case the update misbehaves. After any update, verify the charger completes a full session normally before you need it.
Audit the app and account yearly: confirm scheduled charging still aligns with your utility's current time-of-use windows (utilities change rate schedules, and a stale schedule can silently move your charging into expensive hours), verify energy-reporting looks sane (a sudden doubling of reported consumption with no driving change suggests a metering glitch worth a support call), and check that account recovery details are current. If your charger participates in a utility managed-charging program, confirm enrollment is active — programs occasionally require re-enrollment, and lapsed enrollment can cost you $100–$200 a year in lost incentives.
Check connectivity: the charger's Wi-Fi link is its lifeline for updates, scheduling, and monitoring. If the unit has been offline (check the app's "last seen" status), troubleshoot the network path — a router upgrade, a new mesh node, or a changed Wi-Fi password silently disconnects more chargers than any hardware failure. A $25 Wi-Fi extender near the garage solves most of these. A charger that can't phone home can't update, can't follow schedules, and can't warn you of faults — connectivity is maintenance.
Enclosure, Mounting, and Environment
Walk around the unit with fresh eyes. The enclosure should be intact with no cracks, and all screws and seals in place — the weatherproofing rating on outdoor units depends on gaskets that degrade in UV. Check that ventilation slots aren't blocked by dust, cobwebs, or storage piled against the unit; chargers shed heat through those vents, and blocked airflow shortens component life. A soft brush and a damp cloth handle the cleaning — never a pressure washer, and never spray water directly at the connector or vents.
Verify the mounting is still solid: grab the unit gently and check for wobble, confirm lag bolts haven't worked loose in the stud or masonry, and make sure the holster still holds the connector securely. Outdoor installations deserve extra attention — check that the unit hasn't shifted with freeze-thaw cycles, that drip loops in the wiring are intact, and that landscaping hasn't grown into the working clearance (code requires clear space in front of electrical equipment, typically 36 inches deep).
Look for pests: wasps love charger enclosures, rodents love cable jackets, and ants love electrical boxes. Any nesting material, droppings, or chew marks get addressed promptly — a nest inside the enclosure is both a fire risk and a warranty-voiding neglect flag. A $15 pest deterrent or a simple quarterly glance beats discovering the problem via a fault code.
The Annual Professional Check: What to Ask For
Once a year — ideally before summer heat or winter cold, whichever stresses your climate more — either DIY the checklist above or have it done professionally. Every 2–3 years, bring in a licensed electrician with EV experience for the deeper check. Here's exactly what to ask for: infrared thermal scan of the breaker, outlet, and unit terminations under load (hot spots reveal loose connections before they fail); termination torque verification inside the unit and outlet box; GFCI protection test; ground continuity check; and a full commissioning-style test session confirming the charger delivers its rated current cleanly.
This visit typically runs $150–$300 standalone, less if bundled with other electrical work, and it catches the failure modes that visual inspection can't — a termination at 140°F looks identical to one at 80°F until the thermal camera sees it. Ask the electrician to note the charger's total energy delivered from the app or display; tracking lifetime kWh year over year gives you a usage baseline that makes future anomalies obvious.
Keep a maintenance log — a notes app entry per year with the date, what you checked, the firmware version, and any electrician findings. It takes two minutes, it makes warranty claims dramatically easier ("here's three years of documented maintenance"), and it turns vague "it's been acting weird lately" service calls into precise ones. The best-maintained charger is simply the one somebody pays attention to.
Seasonal Notes and When to Call Immediately
A few seasonal adjustments round out the year. Before summer: confirm ventilation is clear and the unit isn't in new direct-sun exposure (a moved storage shelf can shade or unshade surprisingly fast); heat is the enemy of electronics longevity. Before winter: check that outdoor cable jackets are still supple, confirm the connector seal keeps meltwater out, and remember that cold batteries charge slower — longer sessions mean more thermal cycling, so winter is when loose connections show themselves.
And know the call-immediately list — don't wait for the annual check if you see any of these: any burning smell or visible scorching anywhere in the system; a plug or outlet that's hot to the touch; a breaker that trips more than once; arcing sounds, sizzling, or visible sparking; a cable with cut or exposed inner insulation; or the charger repeatedly failing to start sessions it used to handle fine. These are electrician-today symptoms, not monitor-and-see ones. Everything else on the checklist can wait for its scheduled slot — but the items on this list can't. Print the list and tape it inside the panel door; in the moment, you won't want to be searching for it.
Frequently asked questions
Do the visual checklist yourself once a year — cable, connector, outlet, app, and enclosure take about 30 minutes. Every 2-3 years, have a licensed electrician do the deeper check: termination torque, thermal scan under load, and GFCI testing. In harsh climates (extreme heat, coastal salt air), consider the professional check every 2 years.
The electrical connections — specifically heat. After a charging session, the plug should feel warm at most, never hot; the outlet should show no discoloration; the breaker face should be near room temperature. Heat at any connection point signals resistance from looseness or wear, and it's the earliest warning of the failure modes that matter.
Yes — updates carry safety fixes and utility-program compatibility. But avoid manual updates in the 72 hours before a major forecasted storm, in case the update misbehaves, and always verify a full normal charging session afterward. Also audit your charge schedule yearly, since utilities change time-of-use rate windows and a stale schedule can silently shift charging into expensive hours.
Typically 8-12 years with normal handling, less with abuse. Replace the cable assembly ($150-$350 parts plus labor) at the first sign of jacket cuts exposing inner insulation, persistent kinking, connector pin burning or pitting, or a latch that no longer clicks positively. Never tape over damaged high-voltage cable — that's a temporary look at a permanent hazard.
A single trip after a known event (storm, power flicker) can be a one-off — reset once and monitor. But a breaker that trips repeatedly, or trips with no clear cause, is a symptom: loose terminations, GFCI coordination issues, moisture, or panel overload. Don't develop a reset habit; call a licensed electrician to diagnose it. Breakers trip for reasons.
It can, for damage tied to neglect — manufacturers can deny claims where wasp nests, rodent damage, water intrusion from missing seals, or obviously abused cables caused the failure. Keep a simple yearly maintenance log (date, checks done, firmware version); it takes two minutes and makes legitimate warranty claims dramatically easier to document.