Bathroom Humidity & Slip Safety Guide
Bathroom humidity and slip safety for aging in place: right-sized exhaust fans, humidity controls, slip-resistant surfaces, mold prevention, $500-$1,200.
10 MIN READ · UPDATED 2026-09-23
Key takeaways
- Keep bathroom humidity at 30-50% and clear shower moisture within 20-30 minutes — a $15 hygrometer makes the invisible visible.
- Specify exhaust fans at 1+ CFM per square foot, 1.0 sone or quieter, ducted to the exterior — never into the attic.
- Humidity-sensing switches ($40-$90) run the fan automatically until moisture clears, removing the human factor entirely.
- Choose matte textured flooring with DCOF 0.42+ for wet areas; glossy tile plus condensation is a fall waiting to happen.
- Thirty seconds of squeegeeing after each shower removes most surface moisture before it becomes airborne humidity.
Bathroom humidity is a quiet double threat: chronic moisture feeds mold that aggravates respiratory conditions, and the condensation it leaves on floors turns tile into a skating rink. For aging-in-place households — where a slip can mean a hip fracture and where respiratory sensitivity often increases — ventilation isn't a comfort feature, it's safety infrastructure. This guide covers right-sized exhaust fans, humidity-sensing controls, flooring and surface choices that stay grippy when wet, and the moisture habits that keep bathrooms dry, mold-free, and safe. Most upgrades land between $200 and $1,200.
Why Bathroom Humidity Is a Safety Issue, Not Just a Comfort One
A hot shower can pump a pint or more of water vapor into a small bathroom's air in minutes. Without effective exhaust, that moisture condenses on every cool surface — mirrors, windows, walls, and critically, floors. On glossy tile or polished stone, a thin film of condensation cuts traction dramatically; the resulting slip is one of the most common bathroom fall scenarios, and it happens to people who would never describe their floor as "wet." The danger is invisible until you're falling.
The second harm is slower but equally real: persistent humidity above 60 percent feeds mold and mildew in grout lines, behind toilets, under vanities, and inside wall cavities. For older adults — who experience higher rates of asthma, COPD, and general respiratory sensitivity — chronic mold exposure aggravates breathing, triggers allergies, and can turn a bathroom from a safe space into a health hazard. Musty odors, discolored grout, and peeling paint are the visible warnings; the hidden growth inside walls is what a good ventilation strategy prevents.
The target is straightforward: keep bathroom relative humidity between 30 and 50 percent, and clear shower-generated humidity within 20 to 30 minutes after the shower ends. Everything in this guide serves those two numbers. A $15 humidity gauge (hygrometer) on the bathroom wall makes the invisible visible — check it during and after showers for a week, and you'll know exactly what you're dealing with before spending a dollar.
Exhaust Fans: Sizing, Placement, and the Upgrades That Matter
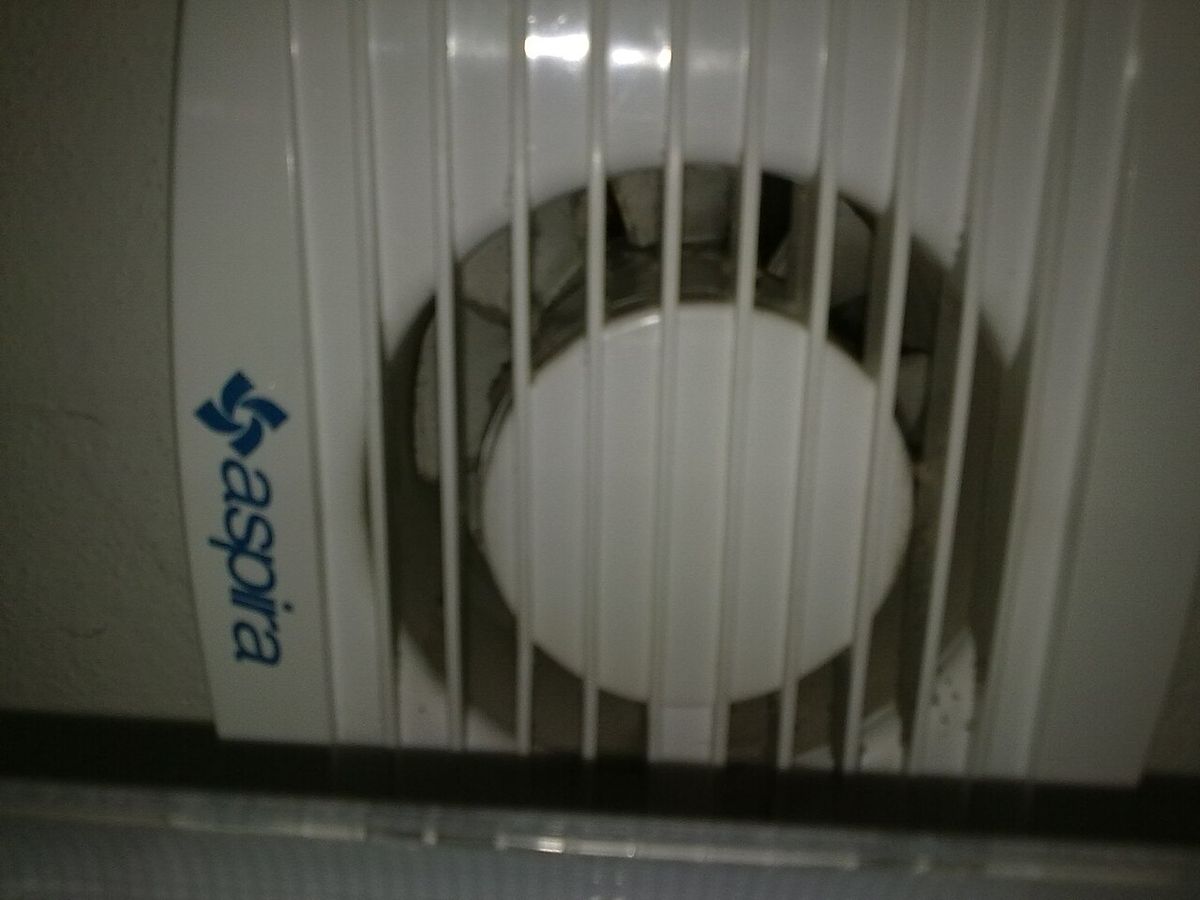
Most bathroom fans are wrong in one of two ways: too weak for the room, or so loud nobody turns them on. Sizing follows a simple rule: the fan's CFM (cubic feet per minute) rating should be at least 1 CFM per square foot of bathroom — a 60-square-foot bathroom needs a 60 CFM fan minimum, and bathrooms with high ceilings, jetted tubs, or steam showers need more (go 20 to 50 percent above the minimum). An undersized fan running for an hour does less than a right-sized fan running for twenty minutes.
Noise is the usability factor: fan loudness is rated in sones, and anything above 2.0 sones is annoying enough that people avoid using it. Specify 1.0 sone or less — modern quiet fans at 0.3 to 1.0 sones are barely audible, which means they actually get used. Quality quiet fans run $100 to $250 for the unit; professional installation (including proper ducting) adds $200 to $500. That's the core investment, and it's worth every dollar.
Two installation details determine whether the fan works or just makes noise. Ducting: the fan must vent to the exterior — through the roof or a gable wall — never into the attic, where it simply relocates the moisture problem to rot your roof deck. Insulated rigid ducting beats flexible foil; keep runs short and straight. Makeup air: a fan can't exhaust air the room can't replace — leave a 3/4-inch gap under the bathroom door or install a transfer grille so replacement air flows in. A fan starved of makeup air just strains loudly and moves little moisture. Have an electrician or HVAC tech verify both on installation; bad ducting is the number-one reason "new fans" disappoint.
Humidity-Sensing Controls: Automation That Removes the Human Factor
The best fan in the world fails if nobody turns it on — or if it's switched off the moment the shower ends, before the moisture has cleared. Humidity-sensing switches ($40 to $90) solve this by running the fan automatically: they detect rising humidity, run until levels drop back to the setpoint, then shut off. No remembering, no 30-minute timer guesses, no fan humming for hours because someone forgot. For aging households, removing the human factor from ventilation is exactly the right design philosophy.
Timer switches ($25 to $60) are the simpler alternative: press once for a preset run time (20, 30, or 60 minutes). They're a big upgrade over a plain on/off switch and dead simple to understand — press the 30-minute button after your shower. But they can't adapt: a long steamy shower needs more time than a quick one, and timers don't know the difference. If choosing between the two, the humidity sensor wins on effectiveness; the timer wins on simplicity and cost. Either beats a standard switch.
For the full setup, pair the control with the quiet fan — automation plus inaudibility means ventilation simply happens in the background of life. Wire the fan and the bathroom light separately if they currently share a switch (a $75 to $150 electrician visit): the light-switch-fan combo forces a choice between light without ventilation or ventilation with unwanted light and noise, and separating them lets the humidity control do its job independently. In a multi-bathroom home, put humidity-sensing controls on every bath — the guest bath with the long, hot showers needs it as much as the primary.
Flooring and Surfaces: Staying Grippy When Wet
Ventilation reduces moisture; surfaces determine what happens with the moisture that remains. Flooring is the critical choice: matte, textured porcelain or ceramic tile with a high slip-resistance rating (look for DCOF — dynamic coefficient of friction — of 0.42 or higher for wet areas), slip-resistant luxury vinyl, or textured natural stone. Glossy polished tile and polished marble are the materials to avoid in an aging-in-place bathroom — beautiful, and treacherous with any surface moisture. If a full re-floor isn't in the cards, anti-slip treatments ($100 to $300 professionally applied) etch microscopic traction into existing tile without changing its appearance.
Shower and tub surfaces need dedicated traction: non-slip mats with suction or adhesive backing ($15 to $40), replaced when they show wear — a worn mat with curled edges is a trip hazard itself — or professionally applied anti-slip coatings for a permanent solution. Walls: in wet zones, large-format tile with epoxy grout resists moisture penetration and mold far better than standard cement grout; wherever repainting happens, use mold-resistant bathroom paint with a satin or semi-gloss finish that wipes clean and resists mildew.
Textiles and accessories: a quality bath mat with true rubber (not PVC) backing ($25 to $50) outside the shower, laundered weekly so the backing doesn't degrade into a slipperier surface; a squeegee ($10) on the shower wall — thirty seconds of squeegeeing glass and walls after a shower removes the bulk of surface moisture before it can evaporate into the room's air, dramatically reducing the fan's workload; and towel bars or hooks positioned so wet towels dry with airflow rather than bunching damply in a corner.
Mold Prevention: The Moisture Habits and Maintenance Routine
Ventilation hardware handles the big moisture loads; habits handle the rest. After every shower: run the fan until humidity normalizes (automatic with a humidity sensor), squeegee walls and glass, and leave the shower door or curtain open to air-dry — a bunched shower curtain is a mold incubator. Weekly: launder bath mats and towels (damp textiles left on floors are mold starters and slip hazards in one), wipe down grout lines in the wettest zones, and check under-sink cabinets for the slow drips that feed hidden mold.
Monthly and seasonal: clean the exhaust fan grille and check that it's actually moving air (hold toilet paper to the grille — it should pull firmly); inspect caulk lines around tubs, showers, and toilets, re-caulking at the first sign of gaps or discoloration ($10 in caulk prevents the water intrusion that rots subfloors); check the hygrometer readings during showers to confirm the system is keeping up; and in humid climates, consider a small bathroom dehumidifier ($150 to $300) for bathrooms without windows or with chronic dampness.
When mold appears: surface mildew on grout or caulk responds to scrubbing with appropriate cleaners and improved ventilation — but mold covering large areas, mold inside walls (persistent musty smell with no visible source), or mold affecting anyone with respiratory conditions warrants a professional mold assessment ($300 to $600). Don't just bleach and hope: recurring mold is a moisture problem wearing a mold costume, and only fixing the moisture — ventilation, leaks, drainage — ends the cycle. If a bathroom has chronic mold despite good habits, suspect a hidden plumbing leak or failed fan ducting and investigate accordingly.
Windows, Natural Ventilation, and the Whole-Home Picture
Mechanical exhaust does the heavy lifting, but don't overlook the humble bathroom window. An operable window — even cracked a few inches during and after showers — provides meaningful supplementary ventilation, especially in mild weather. If the bathroom window is painted shut, stuck, or too high to reach comfortably, freeing or replacing it ($200 to $600 for a replacement awning window, which opens with a simple crank and sheds rain while venting) is a worthwhile parallel fix. Frosted or textured glass preserves privacy while letting in natural light, which itself discourages mold — ultraviolet light is a mild but real mold suppressant.
Connect bathroom moisture strategy to the home's broader systems. A bathroom exhaust fan fighting a whole-house humidity problem (common in tight, well-insulated homes or humid climates) will always struggle; if hygrometer readings stay high even with good fan practice, consider a whole-home dehumidifier integrated with the HVAC ($1,500 to $3,000 installed) or at minimum a portable unit for the dampest zone. And coordinate with the thermostat: many smart thermostats now display indoor humidity and can trigger ventilation or dehumidification equipment automatically, closing the loop between sensing and action without anyone touching a switch.
Costs, Priorities, and the Complete Bathroom Moisture Plan
Prioritize in this order: 1) Verify and fix the exhaust fan — right-sized (1 CFM per sq ft minimum), 1.0 sone or quieter, ducted to the exterior with adequate makeup air ($300 to $750 installed). 2) Add humidity-sensing or timer control ($25 to $90, often DIY-friendly) and separate the fan from the light switch if combined. 3) Address floor traction — anti-slip treatment on existing tile ($100 to $300) or slip-resistant flooring at the next remodel. 4) Shower traction and accessories — mats, squeegee, quality bath mat ($50 to $120 total). 5) Establish the habits — squeegee, air-dry, launder, inspect (free).
A complete bathroom moisture-safety upgrade runs $500 to $1,200 per bathroom professionally done — modest for a room that concentrates the home's highest slip risk and mold potential. The fan work needs a licensed electrician (and possibly an HVAC tech for ducting); everything else is DIY-friendly. If the bathroom is due for a remodel anyway, fold in the definitive upgrades: curbless shower (eliminates the tub-entry fall and the hardest-to-ventilate enclosure), slip-resistant flooring throughout, and a properly ducted quiet fan with humidity control specified from day one.
One final integration note: bathroom humidity strategy connects directly to the home's broader safety systems — the grab bars that protect against the slips moisture enables, the non-slip flooring that holds traction when ventilation lags, and the thermostat/humidity monitoring that keeps whole-home moisture in the healthy band. Treat the bathroom as one node in a whole-home moisture and fall-prevention plan, not an isolated project. Costs are 2026 US market ranges; get itemized local quotes, and use licensed pros for all electrical and ducting work.
Frequently asked questions
Size for at least 1 CFM per square foot — a 60 sq ft bathroom needs a 60 CFM fan minimum, with 20-50% more for high ceilings, jetted tubs, or steam showers. Equally important: choose 1.0 sone or quieter so it actually gets used, duct it to the exterior (never the attic), and ensure makeup air via a door gap or transfer grille. An undersized or unducted fan running for an hour does less than a right-sized one running twenty minutes.
Humidity-sensing switches ($40-$90) are more effective: they detect rising moisture, run until levels normalize, then shut off automatically — no remembering, no guessing at run times. Timer switches ($25-$60) are simpler and cheaper but can't adapt to shower length. For aging households, the humidity sensor's remove-the-human-factor design is the better philosophy; either is a major upgrade over a plain on/off switch.
The definitive fix is matte, textured flooring with a wet-area slip-resistance rating (DCOF 0.42+) — specify it at remodel time. For existing floors, professional anti-slip treatments ($100-$300) etch microscopic traction into tile without changing its appearance. Add non-slip mats inside the tub/shower and a true-rubber-backed bath mat outside it, and keep glossy polished stone out of aging-in-place bathrooms entirely.
Control moisture at the source: a properly sized, exterior-ducted exhaust fan with humidity-sensing control; squeegee walls and glass after showers; leave shower doors/curtains open to air-dry; launder mats and towels weekly; and re-caulk at the first sign of gaps. Keep humidity at 30-50%. Recurring mold despite good habits signals a hidden problem — plumbing leak or failed ducting — that needs professional investigation, not just cleaning.
Shower vapor condenses into an invisible film on cool floors, and on glossy tile that film cuts traction dramatically — the slip happens on a floor nobody would describe as 'wet.' Good ventilation that clears humidity within 20-30 minutes, plus slip-resistant flooring and mats, addresses both halves: less condensation forming, and traction that survives the moisture that remains. It's why humidity control belongs in fall-prevention planning, not just comfort.
A complete moisture-safety upgrade runs $500-$1,200 per bathroom: right-sized quiet fan with proper exterior ducting ($300-$750 installed), humidity-sensing or timer control ($25-$90), anti-slip floor treatment ($100-$300), and shower mats plus accessories ($50-$120). The fan and ducting need a licensed electrician; the rest is DIY-friendly. Fold definitive upgrades — curbless shower, slip-resistant flooring — into any planned remodel.