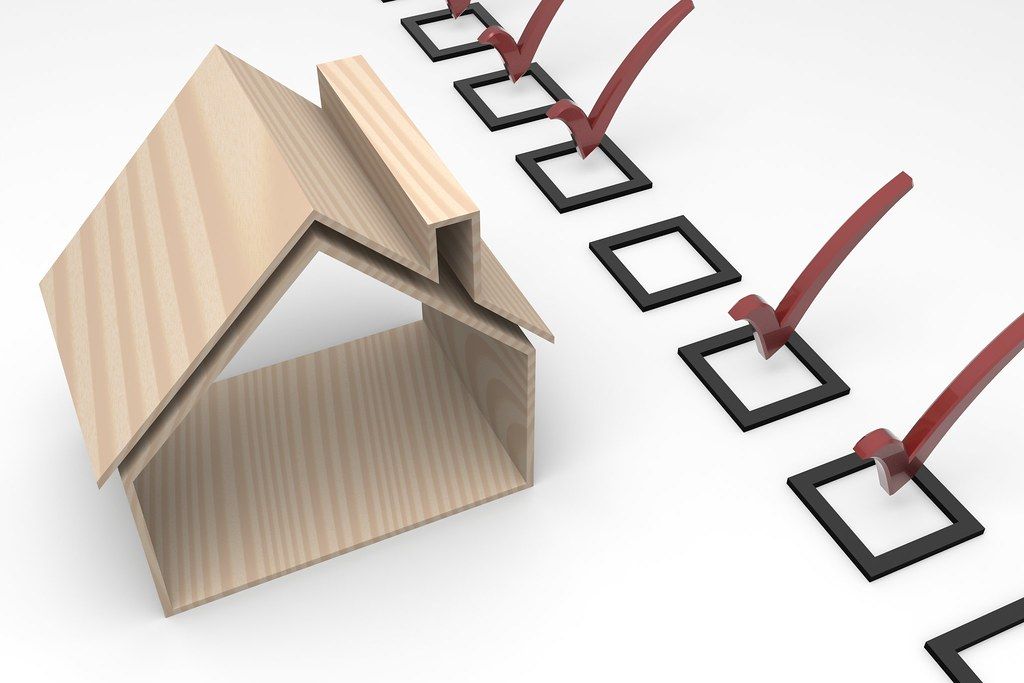
Aging-in-Place Home Assessment Checklist (2026)
Key takeaways
- An aging in place home assessment is a room-by-room walkthrough — entries, doorways, bathroom, kitchen, bedroom, stairs, lighting, flooring, and safety tech — done before you spend on remodeling.
- Rank every finding as safety-critical (fall prevention, emergency access) or comfort (reduced daily effort); fix safety-critical items first.
- Walk the home twice — once in daylight and once after dark — and measure rather than guess: doorway widths, threshold heights, and reach distances all matter.
- Bring in a CAPS-certified professional for remodeling scope and an occupational therapist when the assessment concerns a specific person's needs.
- Structural, plumbing, and electrical work belongs to licensed professionals with permits and inspections; always sequence hidden work before finished surfaces.
An aging in place home assessment is a structured, room-by-room walkthrough of your home that identifies which features will support your independence over the next ten to twenty years — and which ones quietly work against it. Done before you spend a dollar on remodeling, it converts vague concern into a ranked, budgeted project list.
The framework below sorts every finding into two tiers. Safety-critical items prevent falls, preserve emergency egress, or ensure you can call for help — these get fixed first. Comfort items reduce daily effort and friction — these get scheduled around budget and timing. For each room you will find what to look for, the independence-focused reason it matters, and the point at which a finding is complex enough to bring in a CAPS-certified professional or an occupational therapist.
One principle before you begin: this is an independence audit, not a frailty audit. The goal is a home that asks less of you so you can give more to everything else. The most successful assessments end with homeowners surprised at how much of the list is about light, flow, and convenience — not about disability.
How to run the assessment
Walk the house the way you actually live in it, ideally twice: once in daylight and once after dark, because lighting failures only reveal themselves at night. Bring a tape measure, your phone's camera, and a notebook. Move through the home in the order below and photograph every finding — those photos become the brief you hand a contractor or designer later.
- Measure, don't guess. Doorway clear widths, threshold heights, stair dimensions, and reach distances all matter, and all are easy to misjudge by eye.
- Test with your hands and feet, not just your eyes. Operate every door handle, faucet, and light switch. Step over every threshold. Note anything that demands grip strength, pinching, or twisting.
- Do it with the person who lives there, not for them. An assessment done for someone misses the daily frictions only they notice — and it is their independence being designed.
- Score each finding as you go. A home with twenty comfort findings and two safety-critical ones has a very different project list than the reverse. The scoring is the whole point.
Moen Home Care 24-Inch Stainless Steel Concealed Screw Grab Bar (8724)

Supports up to 500 lbs with SecureMount anchoring in showers and tubs
*Affiliate Disclosure: As an Amazon Associate, Elevate Home earns from qualifying purchases. Pricing and availability subject to change.
Entry and thresholds
The entry is where independence meets the outside world, and it deserves the hardest look in the house. Count the steps — or measure the total rise — from grade to the door. Measure the threshold itself. Note whether there is level landing space on both sides of the door to maneuver with groceries, luggage, or a walker. Check for handrails on both sides of any steps, and confirm the entry is well lit and visible from the street.
Why it matters: even a single 4- to 6-inch step becomes a daily negotiation, and thresholds are a leading trip location. The decision rule is simple — any entrance used daily should be step-free or served by a properly built ramp. ADA guidelines specify a 1:12 slope as the accessibility benchmark for ramps (one inch of rise per twelve inches of run); residential work should be checked against local code, but 1:12 is the standard professionals design to.
- Safety-critical: steps with no handrail on one or both sides; thresholds over 1/2 inch at the main entry; no level landing at the door; a dark entry.
- Comfort: a video doorbell and smart lock so visitors and deliveries are handled without rushing to the door; a covered entry that keeps the landing dry.
A professionally built ramp for a typical single-step entry often falls in the $1,500–$4,000 range in 2026 US markets; a full regraded concrete entry runs higher. Costs are 2026 US market ranges; get itemized local quotes. Any ramp or entry regrading that alters drainage or structure should be designed by a professional and checked against local permits and HOA rules.
Hallways and doorways
Hallways are the circulation spine of the home; doorways are its gates. Measure the clear width of every doorway on the main living level — 32 inches of clear passage is the widely used accessibility benchmark per ADA guidelines, with 36 inches allowing genuinely comfortable movement. Test the hardware: round knobs demand grip and twisting, lever handles do not. Note doors that swing into tight bathrooms or hallways, where a pocket door or an out-swinging door would free the space.
The independence logic is straightforward: a home you cannot move through freely is a home that shrinks around you. Widening a single critical doorway — usually the bathroom or the bedroom — often unlocks the entire floor plan.
- Safety-critical: doorways under 32 inches clear on the path to the bedroom and bathroom; doors that block hallways when open; long halls with nowhere to steady yourself.
- Comfort: lever handles throughout (an inexpensive, high-impact swap); consistent flooring with no lips at room transitions.
Widening a doorway can mean reframing, and in a load-bearing wall it becomes structural work — that is licensed-contractor territory with permits and inspections, not a weekend project.
Bathroom
The bathroom concentrates the home's highest fall risk in its smallest, hardest-surfaced room, so it earns the most detailed look. Check whether you can enter without stepping over a tub wall or tall threshold. Note whether there is solid blocking behind the walls where grab bars would anchor — you cannot see this without opening a wall, so record it as a remodel-phase item. Test the toilet height: can you sit and stand without arm-wrestling it? Can you reach the faucet and shower controls without leaning? Is the lighting bright at the mirror and gentle at night? Is the floor genuinely slip-resistant when wet?
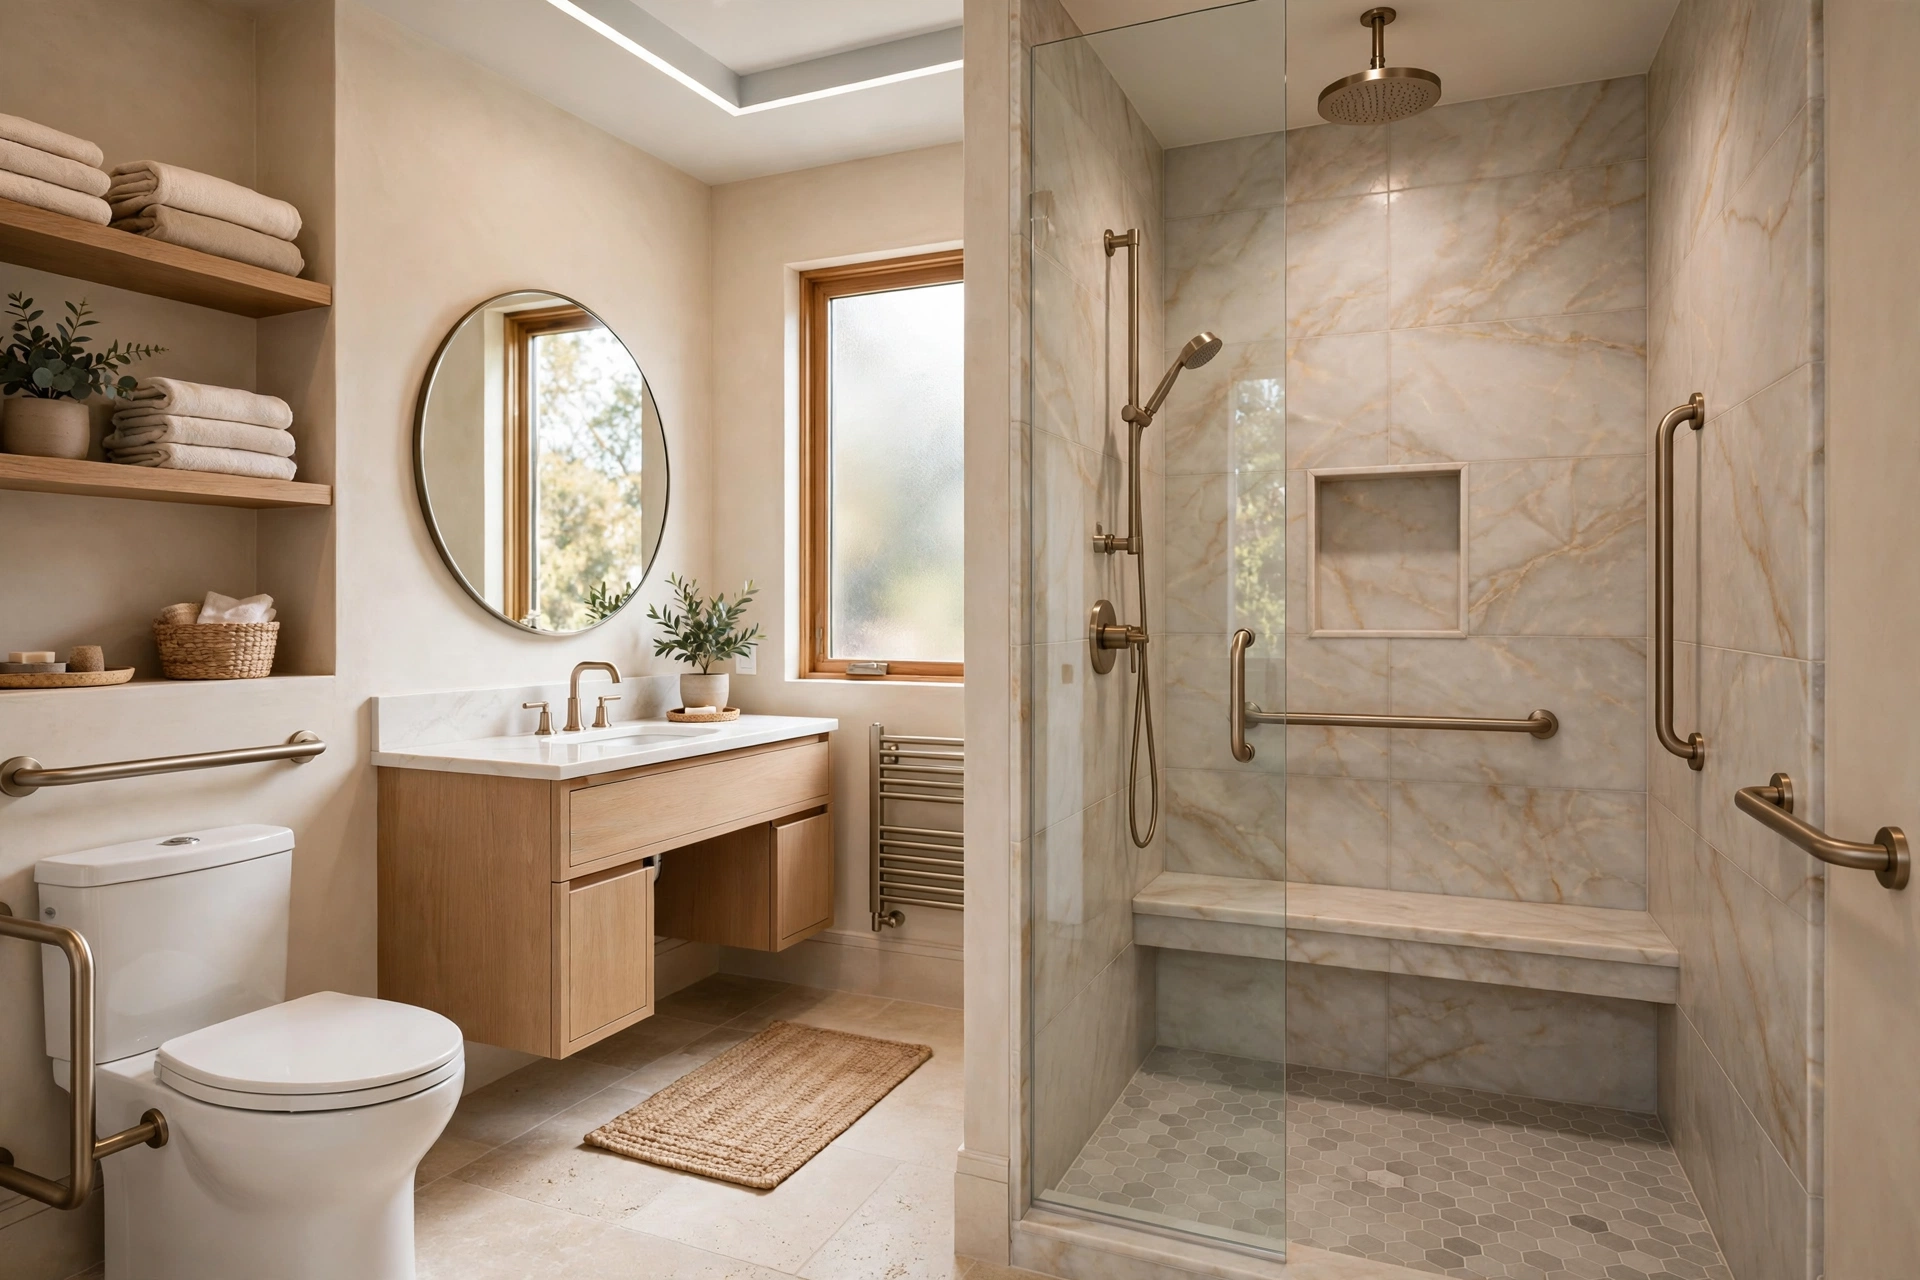
The dignity framing matters most here. A well-designed accessible bathroom reads as a spa, not a facility: curbless showers, wall-hung vanities, and designer grab bars matched to the faucet finish are luxury features that happen to support independence.
- Safety-critical: a tub wall or threshold you must step over; no plan for grab-bar blocking; dim or single-source lighting; tile that turns slick when wet.
- Comfort: a handheld shower on a slide bar; a comfort-height vanity; heated floors; a bench or ledge in the shower.
Anything involving plumbing relocation, waterproofing, or electrical work belongs to licensed tradespeople, and most jurisdictions require permits and inspections for this scope. An occupational therapist can assess the specific transfer and balance needs of the person using the room — get their recommendations before the designer's drawings, not after.
Kitchen
Kitchens test reach, grip, balance, and heat safety all at once. Walk the working triangle and note the clear floor space. Check the height of the most-used shelves — if a step stool is currently required for daily items, that is a fall waiting for a reason. Test the faucet handles. Note whether the cooktop has front controls or, better, automatic shutoff; rear controls that force reaching over heat are a red flag. Confirm there is heat-resistant landing space beside the oven and cooktop, and assess the lighting: under-cabinet task light plus glare-free ambient light.
Small ergonomic details compound over years: a single-lever faucet, pull-out base-cabinet shelves, and a seated prep area can extend comfortable cooking by a decade.
- Safety-critical: rear cooktop controls requiring reaches over heat; no landing space beside hot appliances; daily reliance on a step stool; a fire extinguisher that is expired, missing, or unreachable.
- Comfort: pull-out pantry and base-cabinet shelves; varied counter heights including one seated-height section; a smart stove shutoff or an induction cooktop with auto-off.
Appliance and electrical changes call for licensed professionals. Gas work in particular should only ever be handled by a licensed plumber or gas fitter, with permits and inspections where required.
Bedroom
The bedroom assessment centers on the two transfers that matter most: getting in and out of bed, and getting from the bed to the bathroom at night. Check bed height against the occupant's knee height, confirm a clear and lit path to the bathroom, and note whether outlets and switches are reachable without stretching or bending. Assess the closet honestly — deep shelves and high rods that demand a step stool belong on the project list.
- Safety-critical: an unlit path from bed to bathroom; a bed height that makes standing a struggle; no way to call for help from the bed.
- Comfort: reachable closet storage; a chair or bench for dressing; blackout plus gentle wake lighting.
This section is intentionally brief — our bedroom design guide covers bed height, flooring, lighting, closets, and emergency response in full depth.
Stairs and vertical circulation
If the home has stairs, assess them with fresh eyes. Handrails on both sides, not just one. Consistent tread depth with high-contrast nosing or lighting that defines each step edge. Freedom from clutter, loose runners, and stored items. And lighting at both the top and the bottom — stair falls cluster where light is poor.
The long-term decision rule: if the bedroom, a full bathroom, and the laundry can all live on one level, the stairs become optional rather than mandatory. When they cannot, that is the moment to price the alternatives — a stairlift versus a home elevator — before the need is urgent. Decisions made calmly, years ahead, are dramatically better than decisions made after a fall.
- Safety-critical: a missing handrail on either side; uneven or poorly lit steps; essential daily rooms reachable only by stairs.
- Comfort: a second handrail where only one exists; motion-sensor stair lighting; a written plan — and a budget line — for future vertical circulation.
Stairlift and elevator installation involves structural and electrical work: licensed professionals, permits, and inspections apply.
Lighting
Assess lighting at three levels. Ambient: can you see the room evenly? Task: is there focused light where you read, cook, and groom? Night: can you move from bed to bathroom without switching on a blinding overhead? Then check every switch — is it reachable, is it a rocker or a small toggle, and is there one at both ends of every hallway and stair?
Aging eyes need more light and tolerate less glare, and those two facts together rule out single bright overheads and bare bulbs. The fix is layered: multiple softer sources rather than one harsh one.
- Safety-critical: dark hallways, stairs, or bathroom paths at night; glare that obscures step edges or flooring transitions.
- Comfort: dimmers on main rooms; motion-sensor night paths; consistent warm color temperature (typically 2700–3000K) across the home.
Adding circuits, moving switches, or installing hardwired fixtures requires a licensed electrician, and most jurisdictions require a permit and inspection for the work.
Flooring
Walk every transition between flooring materials and note any lip, however small — thresholds between rooms are trip points disguised as design details. Assess slip resistance honestly: the ANSI A137.1 standard rates tile slip resistance (DCOF), with 0.42 or higher the commonly specified threshold for wet areas; elsewhere in the home, matte finishes and texture matter more than ratings. Check every area rug: is it taped or anchored, or does it slide and curl at the edges?
The design-forward answer to safe flooring is not institutional vinyl — it is matte-finish engineered wood, textured porcelain that reads as stone, or low-pile carpet with firm padding. Safety and beauty are not in conflict here.
- Safety-critical: unsecured area rugs in walking paths; lips over 1/2 inch between rooms; highly polished stone or tile in wet areas.
- Comfort: consistent flooring across the main level to eliminate transitions; firm low-pile carpet in bedrooms for a softer landing.
Flooring replacement that involves subfloor changes or new transitions at exterior doors can affect thresholds and door clearances — coordinate it with your entry and doorway findings above.
Smart safety tech
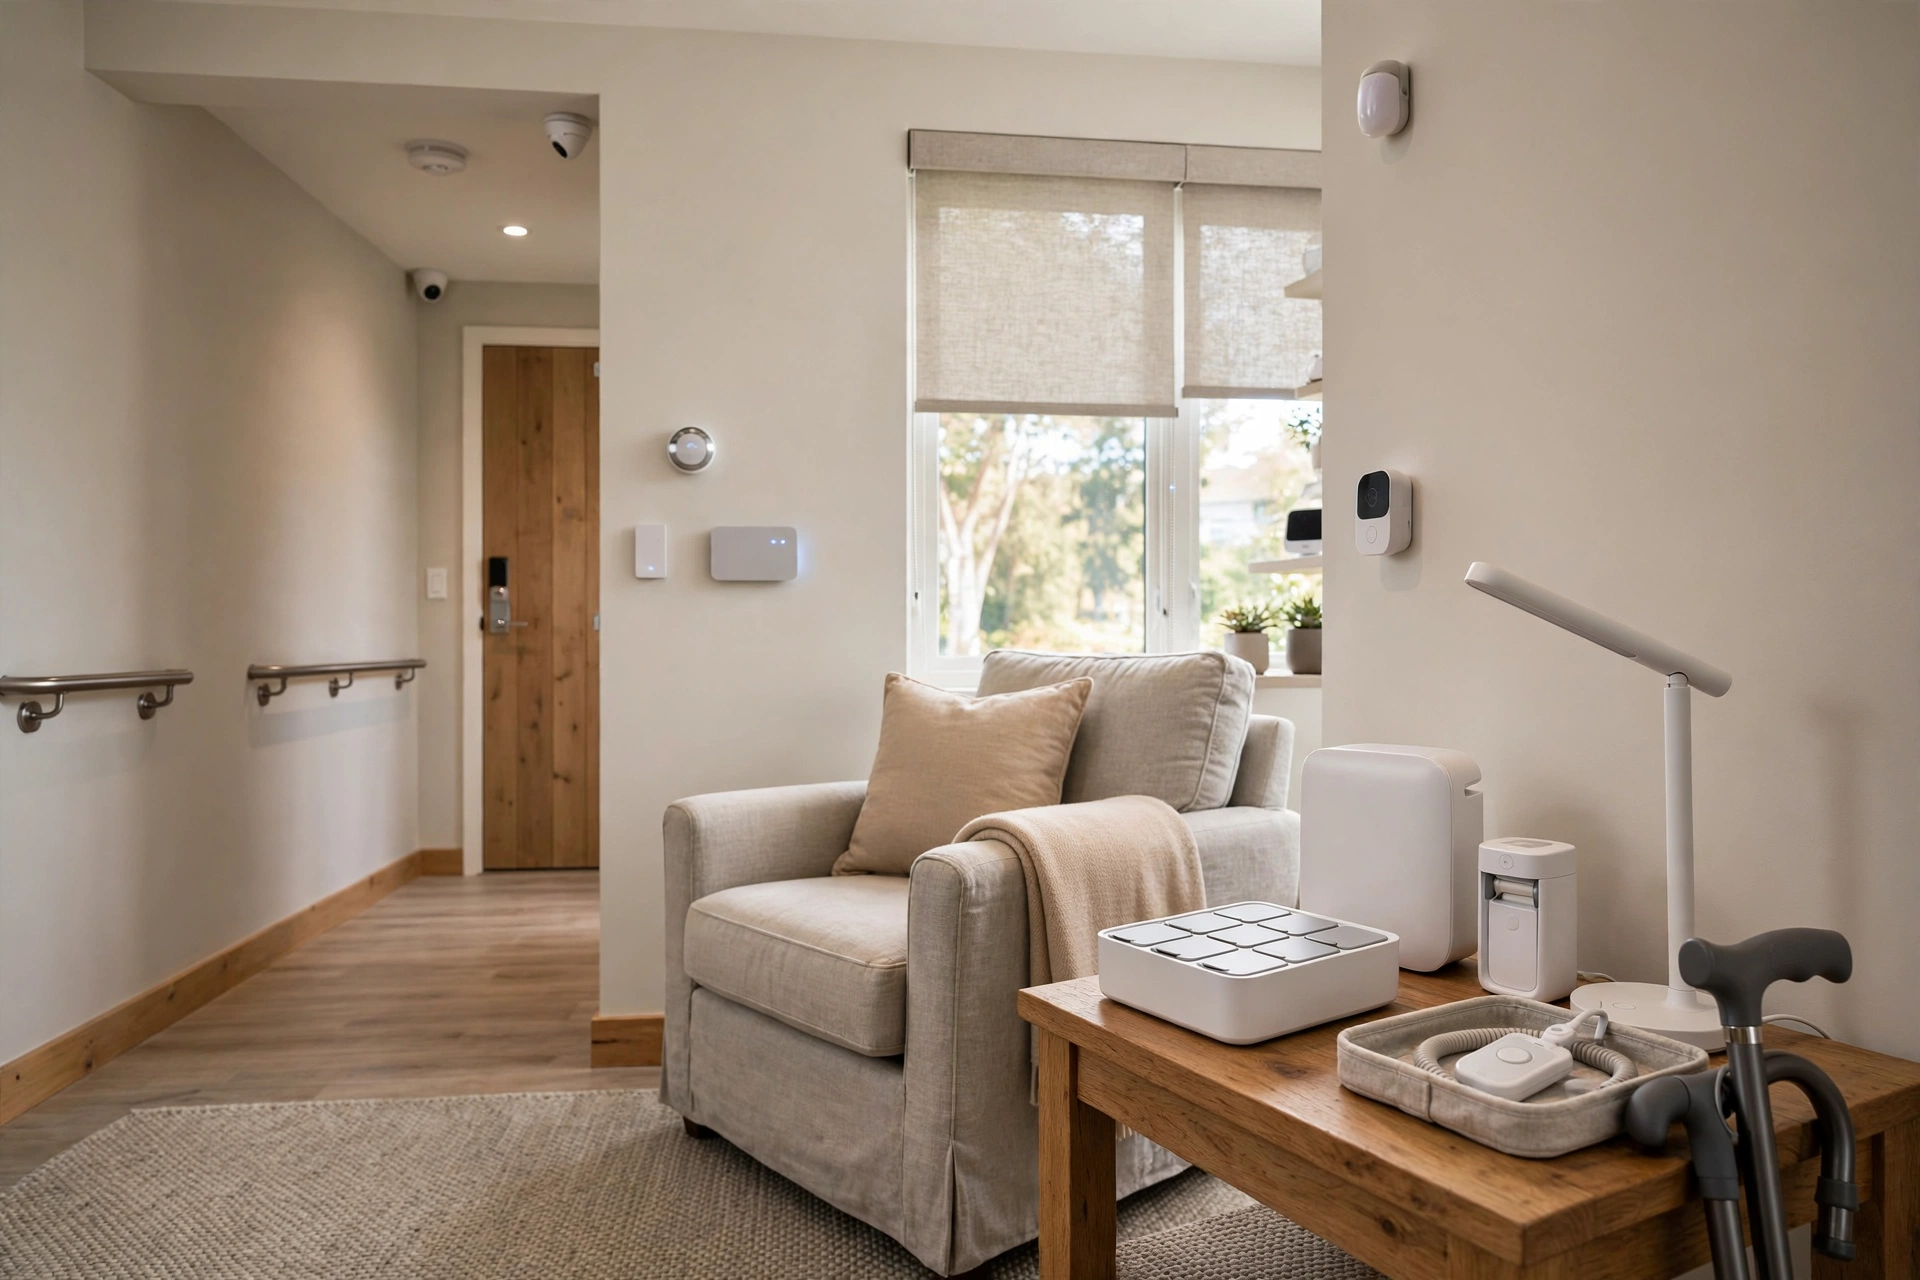
Technology earns its place in the assessment wherever it removes a human-failure point. Water-leak sensors with an automatic main shutoff valve — a slow leak can displace a homeowner for months. Stove monitors or auto-shutoff for the most common kitchen fire scenario. Video doorbells and smart locks so visitors are handled without rushing. And fall detection that requires no wearable: wall-mounted radar sensors detect falls by movement pattern, with no camera and nothing to remember to charge.
- Safety-critical: no leak detection near the water heater, washing machine, or under sinks; a stove with no auto-shutoff used by someone with memory concerns; no way to see or speak to a visitor without reaching the door.
- Comfort: voice control for lights, locks, and thermostat; automated night-lighting paths; remote temperature monitoring for family reassurance during cold snaps.
Cameras belong at entries and exteriors — never in bedrooms or bathrooms. Prefer platforms with clear, published privacy policies, and make any family remote-monitoring arrangement explicitly consensual.
Turning findings into a ranked plan
With the walkthrough complete, sort every finding into a simple action matrix. Fix this month: all safety-critical items that need no remodel — securing rugs, swapping in lever handles, installing professionally anchored grab bars, adding motion-sensor night lights, servicing the fire extinguisher. Plan this year: safety-critical items that need trades — an entry ramp or regrading, doorway widening, bathroom remodel phasing, stairlift or elevator pricing. Schedule with budget: comfort items, sequenced so hidden work (blocking, wiring, plumbing rough-in) always precedes finished surfaces.
The golden rule of sequencing: never install beautiful finished surfaces before completing the structural and rough-in work behind them. Opening a freshly tiled wall to add grab-bar blocking is how homeowners pay twice.
When to bring in a professional
A self-assessment finds the issues; professionals size the solutions. Bring in a CAPS-certified professional (Certified Aging-in-Place Specialist, a credential from the National Association of Home Builders) when the findings involve remodeling scope, structural changes, or multi-year planning — they speak both design and accessibility fluently. Bring in an occupational therapist when the assessment is about a specific person rather than a house: an OT evaluates how someone actually moves, transfers, reaches, and balances, and their recommendations give designers and contractors a precise brief instead of guesswork.
For the work itself: licensed contractors for structural changes, licensed plumbers for plumbing and gas, licensed electricians for electrical. Most jurisdictions require permits and inspections when work touches structure, plumbing, or electrical — plus HOA approval where applicable. Get itemized quotes from at least three providers for any significant scope, and be wary of bids dramatically lower than the rest.
Revisit this assessment every two to three years, or after any health change, surgery, or new diagnosis in the household. Homes are not static and neither are the people in them — but a home assessed honestly, improved in priority order, and designed with dignity is a home that keeps its promise: the people you love, living on their own terms, in the place they love, for as long as they choose.
Frequently asked questions
What is an aging in place home assessment?
A structured room-by-room walkthrough that identifies which features of your home support independent living over the next 10–20 years and which create risk or friction. It covers entries, doorways, bathrooms, kitchens, bedrooms, stairs, lighting, flooring, and safety technology, and ranks findings as safety-critical or comfort so improvements can be planned in priority order — ideally before spending on a remodel.
How much does a professional aging in place home assessment cost?
A dedicated assessment consultation with a CAPS-certified professional typically runs $250–$600 in 2026 US markets depending on home size and region, including a written report with prioritized recommendations. An occupational therapist home evaluation is sometimes covered by insurance when ordered by a physician — check your coverage. Costs are 2026 US market ranges; get itemized local quotes.
What should I check first in an aging in place home assessment?
Start with the safety-critical items: a step-free entry, handrails on both sides of all stairs, a lit nighttime path from bed to bathroom, grab-bar support in the bathroom, and slip-resistant flooring in wet areas. These address falls — the most common serious home injury — and most have low-cost fixes. Comfort upgrades like lever handles and better task lighting come next.
Can I do an aging in place assessment myself?
Yes — this checklist is designed for a careful homeowner walkthrough, and a self-assessment surfaces most issues. Bring in a CAPS-certified professional when findings involve remodeling, structural changes, or multi-year planning, and an occupational therapist when the assessment concerns a specific person's movement, balance, or transfer needs rather than the house in general.
How often should I repeat a home assessment for aging in place?
Every two to three years, or promptly after any significant health change, surgery, or new diagnosis in the household. Needs evolve — a home that scored well at 65 may need updates at 72. Repeating the same checklist lets you compare findings over time and catch new issues early.
What does CAPS certification mean?
CAPS stands for Certified Aging-in-Place Specialist, a credential from the National Association of Home Builders. CAPS professionals are trained in the design, building, and remodeling strategies that support independent living. They bridge the gap between a contractor who builds and a designer who only decorates, making them the right first call when your assessment points to remodeling work.
Keep reading
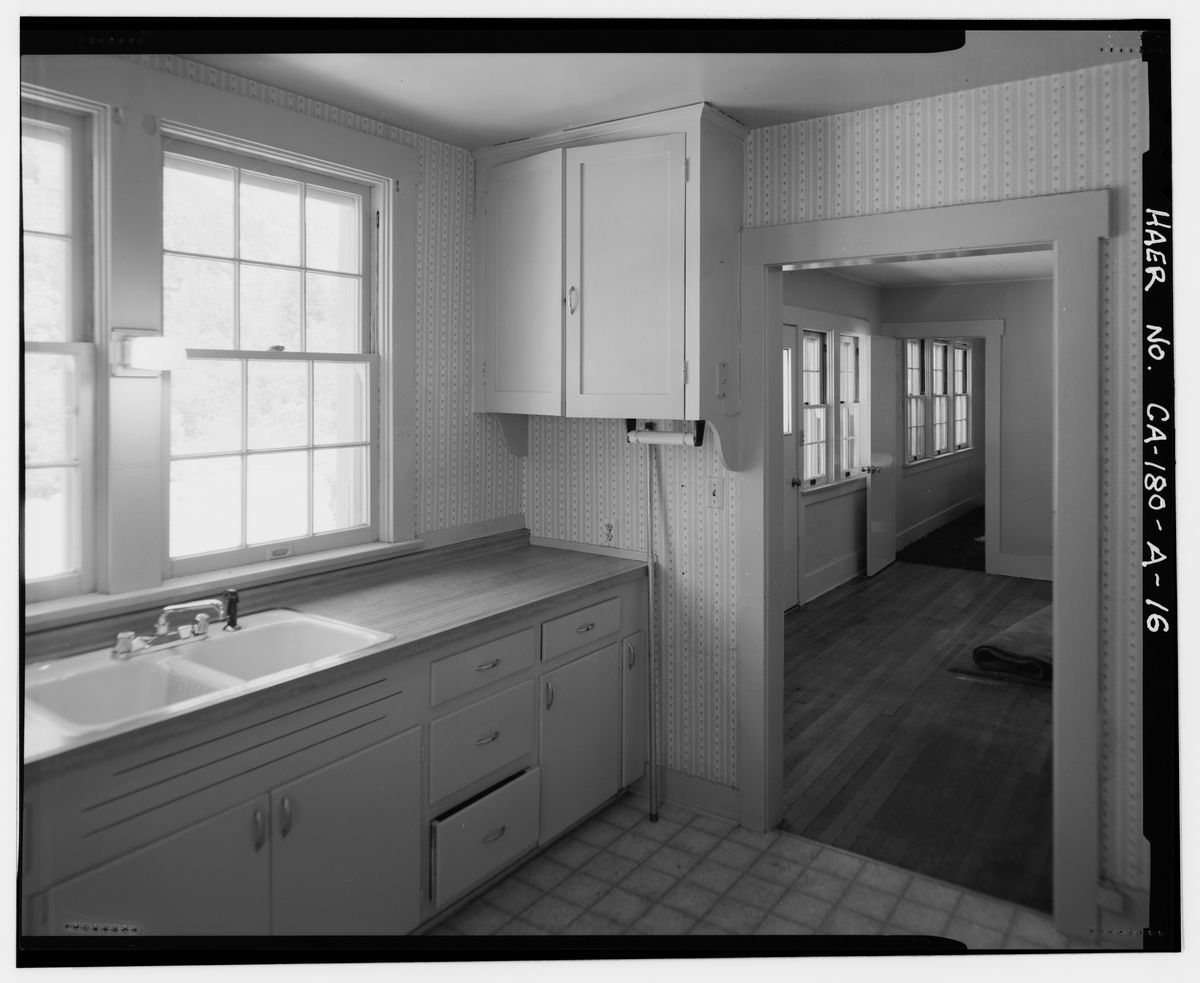
Access & Mobility
Widening Doorways for Wheelchair Access: A Luxury Guide
Widening doorways for wheelchair access starts with the 36-inch standard. Learn door styles, structural rules,…
Surfaces & Safety
Best Flooring for Aging in Place: Comfort & Safety Guide
Explore the best flooring for aging in place: slip-resistance ratings explained, hardwood vs. LVP vs. tile vs.…
Safety Guide
Aging in Place Lighting: A Complete Safety & Design Guide
Lighting is the most overlooked aging-in-place upgrade. Learn layered lighting design, glare control, motion s…
Tech Guide
Smart Home Aging in Place: The Practical Tech Stack
Smart home aging in place: voice control, automated lighting, fall detection, stove shutoff and video doorbell…
Cost Guide
Aging in Place Renovation Cost: 2026 Luxury Guide.
High-end aging in place renovation cost in 2026: US cost ranges for luxury accessible bathrooms, kitchens, lig…
Interactive Tool
Aging in Place Renovation Cost Estimator 2026 Guide
Budget your aging-in-place renovation with our interactive estimator. Price accessible bathrooms, kitchens, el…