Heat Pump Snow Stands & Winter Protection
Heat pump snow stands keep outdoor units above drifts for reliable winter heating. Stand types, heights, clearances, drainage, and 2026 installed costs.
10 MIN READ · UPDATED 2026-09-23
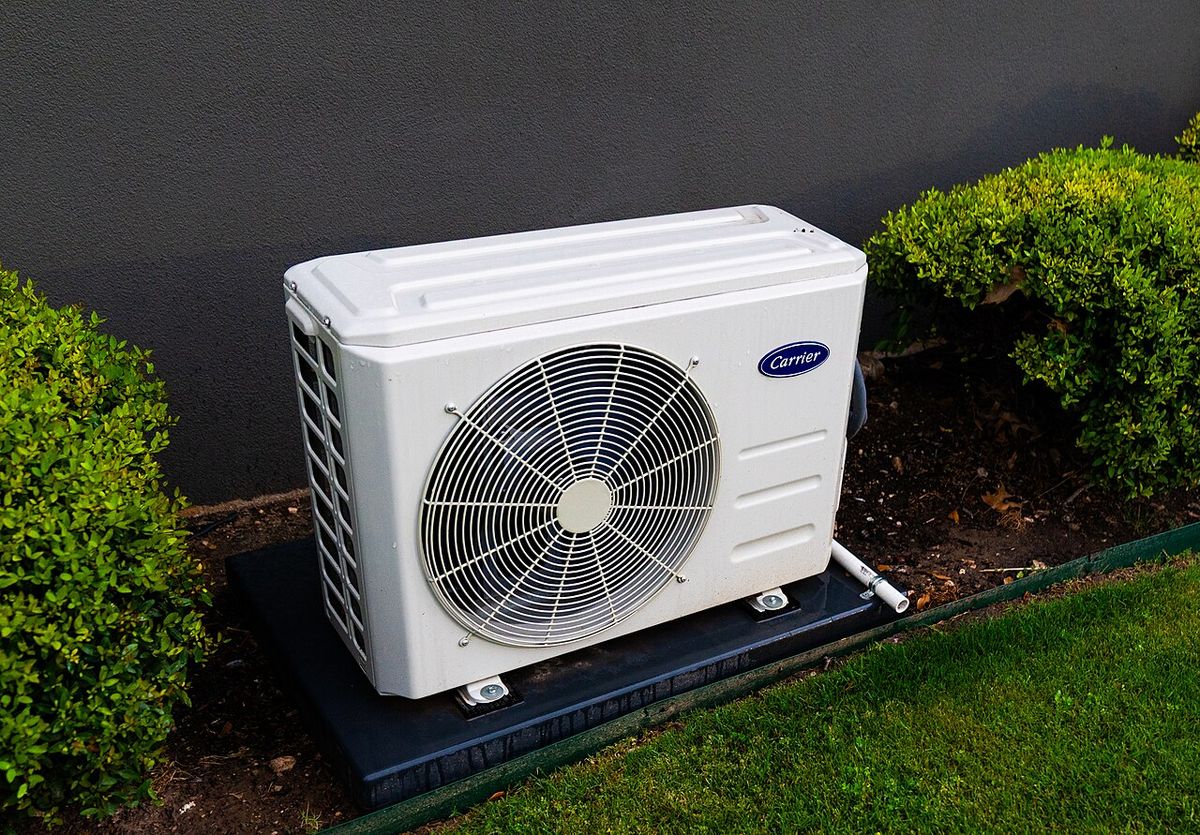
Key takeaways
- Elevate heat pump outdoor units above expected snow depth; 12-24 inches is typical, more in lake-effect zones.
- Snow stands, wall brackets, and raised pads each suit different sites; stands win for deep snow and service access.
- Maintain 2-3 feet of clearance around the unit and keep the top discharge unobstructed for defrost cycles.
- Never wrap the unit in a cover or box it in; restricted airflow causes more harm than snow.
- Professional stand installation typically runs $400-$1,200 in 2026, often bundled with the heat pump install.
A heat pump buried to its fan grille in a January drift is a heating system running with one hand tied behind its back. It will burn extra electricity, struggle through failed defrost cycles, and in the worst cases shut down on a cold night when you need it most. The fix is almost embarrassingly simple: get the outdoor unit up in the air on a proper snow stand, keep its breathing room clear, and manage where the meltwater goes. For anyone heating with a heat pump in snow country, elevation is not an accessory; it is part of the heating system.
Why Heat Pumps Need Elevation
A heat pump's outdoor unit is an air-breathing machine. In heating mode it pulls heat from frigid outside air, which means it needs large volumes of unobstructed airflow across its coil at exactly the season when snow wants to block it. Snow packed against the coil acts as insulation in the worst way, starving the unit of the air it needs while the defrost cycle fights a losing battle against accumulating ice.
Defrost is the crux of the problem. As the outdoor coil extracts heat, moisture in the air freezes on its fins, and the system periodically reverses to melt that frost. Meltwater drips down and must drain away. When the unit sits at grade in deep snow, that water has nowhere to go; it pools, refreezes, and builds an ice dam that creeps up the coil over successive cycles. Each defrost becomes less effective until the unit is essentially trying to heat your house through a block of ice.
Elevation breaks this cycle twice over. First, it keeps the coil above the snowpack so intake air stays clear even after big storms. Second, it gives meltwater a fall path to ground that is below the unit rather than around it, so drainage actually drains. Installers in snow regions treat elevation as standard practice, not an upgrade, and manufacturers' installation manuals specify minimum clearances above expected snow levels for exactly these reasons.
There is a comfort dimension too. A heat pump fighting snow runs longer, louder, and less efficiently, and its supply air runs cooler as capacity drops. Homeowners often interpret this as the heat pump being inadequate for cold climates, when the real problem is a $600 stand that was never installed. Before blaming the technology, check the installation.
Snow Stands vs Wall Brackets vs Raised Pads
The dedicated snow stand is the most common solution: a galvanized steel or aluminum frame that bolts to a concrete pad or footings and holds the unit 12 to 24 inches in the air. Good stands are rated for the unit's weight plus snow and wind loads, isolate vibration with rubber mounts, and leave the underside open for drainage and service access. They are the default choice for ground installations in snow country and the easiest to retrofit under an existing unit.
Wall brackets mount the unit to the house wall, typically on the foundation or a structural wall, holding it well above grade with zero ground footprint. They excel where drifting is severe, where ground space is tight, or where you want the unit completely clear of plowed snow piles. The trade-offs are vibration transmission into the house, which demands quality isolation mounts and a solid structural attachment, and service access, since technicians work from a ladder. Never mount to siding or sheathing alone; the bracket must land on structure.
Raised concrete pads and piers are the permanent, bulletproof option. A poured pad or precast piers lift the unit 12 to 18 inches on a maintenance-free base that will outlast the equipment. This is the premium choice for new construction, where the pad can be poured with the foundation work. Retrofitting a raised pad under an existing unit requires temporarily lifting the unit, which usually means a crane or several strong technicians plus refrigerant line management, so it is rarely the cheapest retrofit.
Choosing between them comes down to site and budget. Deep-snow rural sites with room to work favor stands or raised pads. Tight urban lots and heavy drifting favor wall brackets. Wherever the unit sits, the stand must be level, rated for the load, and corrosion-resistant; a rusting stand in year eight is a unit waiting to tip. Stainless or hot-dip galvanized hardware is worth the small premium in wet climates.
Sizing the Stand and Clearances
Height is the first decision, and it should be driven by local snow data, not optimism. Look up your area's typical maximum snow depth, add six inches of margin, and set the unit's base above that line. For much of the northern US that means 12 to 18 inches of elevation; lake-effect belts, the Upper Midwest, and mountain regions commonly need 24 inches. Your installer's experience with nearby homes is valuable data; ask what height they standardize on and why.
Clearances around the unit are specified by the manufacturer and they matter year-round. Typical requirements are 12 to 24 inches on the sides and back, several feet in front of any service panel, and crucially, unobstructed space above the unit for top-discharge models. Snow country adds a winter overlay: maintain those clearances against the snowpack, not just against fences and shrubs. A unit with 18 inches of side clearance in October has zero clearance in February if nobody shovels.
Placement on the property deserves the same thought. Avoid roof valleys and eaves where snow slides off in avalanches, and avoid the downhill side of plowed driveways where the plow berm buries everything. The north side of the house drifts less in many regions but gets no sun to help melt ice; the south side melts faster but can see bigger drifts. There is no universal answer, which is why a site visit beats a phone quote for snow-country installs.
Leave service access in the plan. Technicians need to reach the control panel, service valves, and electrical disconnect in all weather, which means the stand should not force them to kneel in a snowbank. A small cleared pad or gravel area in front of the unit, kept shoveled through winter, is a courtesy that gets your service calls answered faster and performed better.
Defrost, Drainage, and Ice Management
Understanding the defrost cycle turns winter heat pump ownership from anxiety into routine. Every 30 to 90 minutes in cold, humid conditions, the unit briefly reverses, the outdoor fan stops, and you may see steam rising as frost melts off the coil. This is normal. What is not normal is a unit that never seems to finish defrosting, that ices over progressively through the day, or that sits in a growing puddle of ice.
Drainage design is what separates good snow-country installations from bad ones. Meltwater should fall from the unit onto ground graded away from the equipment, ideally a gravel bed that disperses water before it can freeze into a sheet. Avoid placing the unit where its own dripping meltwater refreezes across a walkway, creating a liability, or where it pools against the foundation. In extreme cold, some installers add a simple drain pan heater or heat trace under the unit to keep the immediate drainage path open.
Ice dams under the unit are the failure to watch for. If you see a growing mound of ice bridging from the ground to the unit's base, drainage is failing and the next step is ice climbing the coil. Break up the dam carefully, improve the drainage path, and consider whether the unit needs more elevation. Do not chip at ice on the coil itself with tools; let the defrost cycle handle coil ice once airflow and drainage are restored.
Wind deserves respect in this picture. Wind-driven snow packs into coils far more aggressively than falling snow, and wind chill accelerates ice formation on wet surfaces. In exposed locations, a snow fence or a manufacturer-approved wind baffle placed at the proper distance, not against the unit, dramatically reduces packing. The baffle must not restrict airflow; its job is to break the wind, not to shelter the unit.
Wind Baffles, Covers, and What Not to Do
The list of well-meaning winter mistakes is long, and most of them restrict airflow. Topping it is the winter cover: products marketed to protect air conditioners from snow and ice must never go on a heat pump that is actively heating your home. A covered heat pump cannot breathe, cannot defrost, and will fault or damage itself. If your installer left a cover on from a summer installation, remove it before the first freeze.
Boxing the unit in with fencing, lattice, or shrubs is the year-round version of the same error. Clearances exist for airflow and service, and every inch you steal raises the unit's operating cost and noise. Decorative enclosures marketed for heat pumps need generous open area on all sides and above; most are too tight. When in doubt, measure the open area and compare it against the manufacturer's clearance diagram rather than trusting the product marketing.
Piling snow against the unit while shoveling is the most common winter mistake, and it is entirely human. Establish a no-pile zone around the unit and tell everyone who shovels, including plow drivers, where it is. A few bright driveway markers around the unit's perimeter help plow operators see it in whiteout conditions and prevent the far worse mistake of hitting the unit or its refrigerant lines with the blade.
What actually works is boring: gentle clearing with a broom after storms, intact clearances, good drainage, and a wind baffle where exposure warrants it. Resist the urge to pour hot water on an iced coil; thermal shock can damage components and the water refreezes into worse ice. Patience and airflow solve coil ice; force creates service calls.
Costs, Permits, and Contractor Tips
In 2026, a quality snow stand with professional installation typically runs $400 to $1,200, depending on height, load rating, and whether new footings or a pad are needed. Wall bracket installations run $600 to $1,500 installed, reflecting the structural mounting work. When bundled with a new heat pump installation, the incremental cost is often at the low end of these ranges, which is one more reason to get elevation right on day one rather than retrofitting later.
Costs are 2026 US market ranges; get itemized local quotes. A full winter-protection package, stand, wind baffle, drainage grading, and electrical disconnect relocation if needed, can reach $1,500 to $3,000 as a standalone retrofit. Compare that against a single no-heat emergency call in January, which easily runs $300 to $600 before any repair, and the economics are straightforward.
Permits for a stand retrofit are often not required when no electrical or refrigerant work is involved, but rules vary by jurisdiction, and anything involving new electrical circuits, disconnect relocation, or structural wall mounting can trigger a permit. Your contractor should know the local requirements. In condo and HOA communities, exterior equipment changes usually need architectural approval; get it in writing before work starts.
Hire an installer with genuine cold-climate heat pump experience, not just air conditioning experience. Ask how many winter installations they do, what stand height they recommend for your specific exposure, and how they handle defrost drainage. The right contractor talks about snow loads, wind, and drainage without prompting; the wrong one treats the outdoor unit like a summer air conditioner that happens to run in January. Heat pumps are superb cold-climate heaters when they are installed like it, and the snow stand is where that installation philosophy becomes visible.
Frequently asked questions
Above your area's typical maximum snow depth plus a margin. Twelve to eighteen inches suits most northern US locations; lake-effect and mountain regions often need 24 inches or more. Check local historical snowfall and ask your installer what they use nearby. Higher is generally better, within reason, as long as the stand is stable and serviceable.
A small open-sided rain cap high above the unit is sometimes acceptable, but full shelters and enclosures are a bad idea. Heat pumps need free airflow on all sides and above; boxing one in recirculates its own cold exhaust air, cripples efficiency, and can ice the coil. If drifting snow is the concern, a wind baffle or snow fence placed at a distance works better than a roof.
No. Covers sold for winterizing air conditioners should never go on a heat pump that heats your home all winter; blocking airflow forces the system to work harder and can damage the compressor. Brush snow off the top and sides gently after storms instead. The unit is engineered to operate in snow and rain; it only needs clearance, not a blanket.
Clear snow from around and above the unit with a broom or soft brush, never a shovel or ice pick that could damage coils and fins. Restore at least two feet of clearance on all sides and clear the top. Then let the unit run; its defrost cycle will handle residual frost. If it was buried for a long time, watch the first few cycles for unusual noise and call for service if anything sounds wrong.
Elevation helps because meltwater falls clear of the unit instead of pooling beneath it, but you still need to manage where it lands. Grade the ground or pad so water flows away, and avoid locations where dripping meltwater refreezes into an ice sheet under the unit. In very cold climates, a gravel bed under the stand absorbs and disperses drainage well.
The unit itself is built for weather, but deep snow causes real problems: blocked airflow forces longer runtimes and failed defrosts, heavy drifts can bend fan blades if the unit tries to start buried, and repeated freeze-thaw around the base corrodes the cabinet. Elevation plus regular clearing after storms prevents essentially all of it. The expensive failures come from neglect, not from snow itself.