Room Sensors for Smart Thermostats: Do They Work?
Do smart thermostat room sensors really fix hot and cold rooms? How they work, where to place them, real-world results, and when zoning wins instead.
10 MIN READ · UPDATED 2026-09-23
Key takeaways
- Room sensors fix the averaging problem: the thermostat no longer judges the whole house by one hallway.
- Placement determines everything; sensors near heat sources, sunlight, or exterior walls report fiction.
- Expect meaningful comfort improvement in 2-4 degree problem rooms, not miracles in fundamentally broken ductwork.
- Sensors manage temperature only; they cannot fix airflow, which is still a ductwork problem.
- A starter kit with two sensors runs $150-$250 in 2026; try sensors before committing to full zoning.
Your thermostat insists the house is 72 degrees. Your bedroom respectfully disagrees, reporting 76 and a restless night. This gap, between what the thermostat measures in the hallway and what you feel where you actually live, is the most common comfort complaint in American homes, and it is exactly the problem room sensors were invented to solve. For a couple hundred dollars, these small wireless pucks promise to end the tyranny of the single hallway reading. The question is whether they deliver, and the honest answer is: mostly yes, with caveats that matter.
What Room Sensors Actually Do
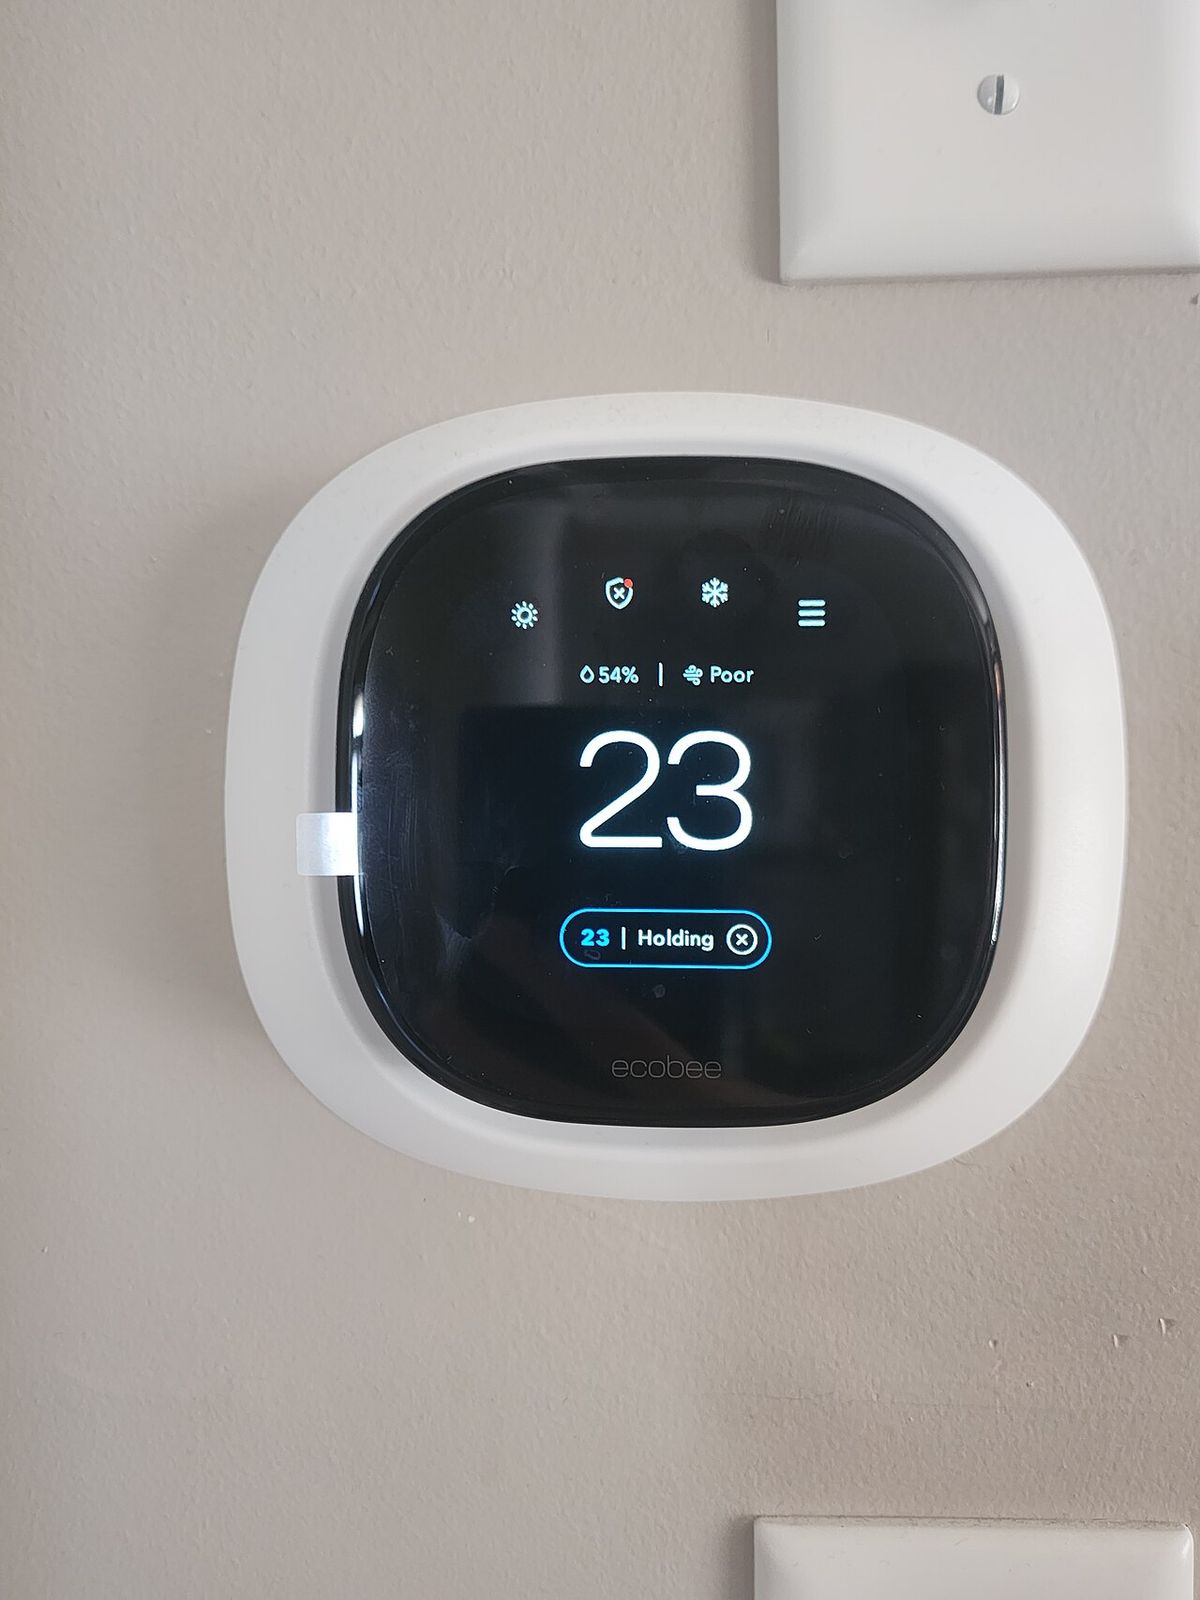
A conventional thermostat is a dictator: it measures temperature at one location, usually a hallway or central wall chosen for installer convenience decades ago, and runs the entire system to satisfy that single point. Every other room's comfort is collateral. Room sensors democratize the decision by reporting temperature, and usually occupancy, from multiple locations, letting the thermostat average readings or prioritize specific rooms at specific times.
The two main modes are averaging and prioritizing. Averaging blends all sensor readings so the system targets the mean household temperature, which smooths out mild variations. Prioritizing, sometimes called comfort control, tells the system to satisfy one sensor, typically the bedroom at night and the living room during the day, on a schedule. Scheduled prioritization is where the real magic happens for most families, because it aligns the system's effort with where people actually are.
Occupancy detection adds a third dimension. Sensors with motion detection can tell the thermostat which rooms are in use and weight the average toward occupied spaces, ignoring the guest room nobody has entered in weeks. This is genuinely useful in larger homes with variable occupancy, though the motion sensors are tuned to avoid false triggers from pets and need a clear view of the room to work well.
What sensors do not do is equally important. They do not change airflow, they do not add capacity, and they do not fix ducts. If your bedroom is hot because its supply duct is crushed in the attic, the sensor will faithfully report 78 degrees while the system runs itself ragged trying to satisfy it. Sensors optimize control decisions; the mechanical system still has to be capable of delivering comfort once asked.
Placement: The Rules That Matter
Sensor placement is the entire game. A sensor in a bad location does not just fail to help; it actively makes comfort worse by feeding the thermostat fiction. The rules mirror thermostat placement wisdom: interior wall, roughly four to five feet high, in the lived-in part of the room, away from anything that heats, cools, or radiates.
The specific enemies are direct sunlight, which can read 10 degrees high on a sunny afternoon; supply registers, whose blast of conditioned air tells the sensor the room is satisfied when it is not; lamps, televisions, and game consoles, which warm the immediate area; exterior walls and windows, which run colder or hotter than the room; and kitchens, whose cooking heat is transient and unrepresentative. Bathrooms are similarly poor choices because showers spike both temperature and humidity.
Bedrooms deserve first priority for most households, since sleep comfort drives satisfaction more than any other room. Place the bedroom sensor on the wall near the bed but not above a heat-producing alarm clock or in the path of the supply register. Living rooms and home offices are the usual second choices. Hallways, which already host the main thermostat, rarely need a sensor.
Test before you commit. Most sensor apps show live readings, so place the sensor, wait an hour, and compare its reading to a reliable thermometer and to how the room actually feels. If the sensor reads 74 while you are comfortable and the room feels like 74, you have a good spot. If it disagrees with reality, move it. An hour of testing beats a season of bad data.
Real-World Comfort Results
Set expectations honestly: room sensors are a fine-tuning tool, not a renovation. In homes with 2-to-4-degree variations between rooms, the kind caused by solar gain on one side, a long duct run to the far bedroom, or a thermostat in a naturally temperate hallway, sensors typically deliver a noticeable, satisfying improvement. The hot bedroom gets prioritized at night, the system runs a bit longer, and sleep improves. That is the sweet spot and it covers a large fraction of complaints.
The mechanism is straightforward. Without sensors, the hallway thermostat is satisfied while the bedroom lags, so the system shuts off and the bedroom never catches up. With the bedroom prioritized, the system keeps running until the bedroom is comfortable, accepting that the hallway may overshoot a degree or two. You are trading a small over-conditioning of already-comfortable spaces for real comfort where it counts, and for most people that trade is pure win.
Results fade as the underlying problem grows. A 6-to-8-degree difference between floors usually signals ductwork, insulation, or equipment issues that no control strategy can fix; running the system to satisfy the worst room will freeze the rest of the house and explode energy use. Multi-story homes with a single system are the classic case where sensors disappoint and zoning or a second system is the real answer.
Give any new sensor setup two weeks before judging. The system needs time to learn occupancy patterns, you need time to tune schedules and priorities, and early readings can be misleading as the sensors settle. Keep notes on sleep quality and daytime comfort rather than staring at the app; the goal is how the house feels, not a pretty temperature graph.
A useful habit is reviewing sensor participation when seasons change. The bedroom that needed priority during summer cooling season may not be the problem room in winter, when a north-facing office runs cold instead. Most thermostat apps let you adjust which sensors participate in each scheduled comfort period in under a minute. Homeowners who revisit these settings twice a year consistently report better results than those who configure once and forget the feature exists.
Sensor Limits and False Readings
Every sensor technology has failure modes worth knowing. Battery-powered sensors need fresh batteries every year or two, and a dying battery does not always announce itself clearly; erratic readings or a sensor dropping offline are the usual symptoms. Keep spares on hand and replace batteries on a schedule rather than waiting for problems.
Wireless connectivity is generally reliable but not perfect. Sensors communicate over Bluetooth or proprietary low-power radio, and thick plaster walls, metal obstacles, or long distances can cause dropouts. If a sensor repeatedly goes offline, try moving it closer to the thermostat or repositioning it away from large metal objects. A sensor that the thermostat cannot hear is worse than no sensor, because the system may fall back to the hallway reading without telling you clearly.
Occupancy detection has its own quirks. The motion sensors need time to decide a room is empty, typically 30 minutes to two hours depending on settings, so brief absences do not trigger changes. Pets can cause false occupancy in some installations, keeping the system conditioning an empty room; most sensors have pet-immunity tuning, but it is imperfect. And a sensor facing a hallway through an open door may detect passersby rather than room occupants.
Finally, remember that sensors measure temperature, not comfort. Humidity, air movement, radiant heat from windows, and personal metabolism all shape how a room feels at a given temperature. A bedroom at 72 degrees with high humidity and still air feels worse than the same temperature with dry, moving air. Sensors are one input to comfort, not the whole equation.
Zoning vs Sensors: When to Upgrade
The decision tree is simple: try sensors first, escalate to zoning when sensors prove insufficient. Sensors cost $150 to $250 for a starter set, install in minutes with no ductwork, and are removable if you move. Zoning costs $3,000 to $6,000 installed, requires dampers in the ductwork, a zone control panel, sometimes a bypass duct, and professional commissioning. The price gap alone justifies the experiment.
Zoning wins decisively in specific situations. Multi-story homes where the upstairs runs 5-plus degrees hotter than the downstairs in summer need dampers, not data; no averaging strategy fixes that without overcooling the lower floor. Homes with dramatically different exposures, like a glass-walled great room attached to a shaded bedroom wing, similarly need directed airflow. And households that want genuinely different temperatures in different areas simultaneously, a cool bedroom and a warm living room, are describing zoning by definition.
There is also a middle path: sensors now, zoning later, with the sensors remaining useful. Most zoned systems still benefit from temperature sensing in each zone, and the sensors you buy today can serve that role if you stay in the same thermostat ecosystem. Check compatibility before purchasing so today's experiment does not become tomorrow's e-waste.
One more alternative deserves mention: ductless mini-splits for problem rooms. A single-zone mini-split serving a hot master suite or a cold home office, typically $3,500 to $6,000 installed, gives that room independent heating and cooling without touching the central system. For the specific complaint of one miserable room, a mini-split often outperforms both sensors and zoning, at a comparable cost to zoning but with true independence.
Costs and Ecosystem Choices
In 2026, room sensors are sold in ecosystem-locked packs: a starter kit with the thermostat plus one sensor, and additional sensors in pairs. Expect $150 to $250 for a two-sensor add-on pack, with individual sensors rarely sold separately. Since sensors only work with their own brand's thermostats, the sensor decision is really a thermostat-ecosystem decision, and switching brands later means rebuying sensors.
Costs are 2026 US market ranges; get itemized local quotes if any professional installation is involved, though most sensor setups are genuinely DIY. When evaluating ecosystems, compare the features that matter: how many sensors are supported, whether averaging and scheduled prioritization are both available, whether occupancy detection is included or costs extra, and how the app presents and controls it all. Marketing pages emphasize sensor count; user experience depends on the software.
Installation is refreshingly simple: pull the tab to activate the battery, name the sensor in the app, place it, and configure participation in comfort settings. The most common setup error is adding the sensor but never telling the thermostat to use it; check that the sensor is actually included in the active comfort profile, not just paired. Revisit the configuration seasonally, since the rooms you prioritize in July may differ from January.
No permits, no HOA approvals, and no licensed professionals are required for battery-powered sensors, which is part of their charm. If your experimentation reveals that the real problem is ductwork, insulation, or equipment sizing, bring in a licensed HVAC contractor for that mechanical work; sensors will have done their job by diagnosing precisely which rooms suffer and by how much. Good data makes every subsequent decision cheaper and better.
Frequently asked questions
Yes, within their design limits. They let the thermostat average or prioritize temperatures from multiple rooms instead of relying on a single hallway reading, which genuinely evens out comfort in homes with 2-4 degree variations between rooms. They cannot overcome bad ductwork, undersized equipment, or major solar gain; those need mechanical fixes. Think of sensors as fine-tuning, not repair.
On an interior wall, about chest height, in the room whose comfort matters most, away from direct sunlight, supply registers, lamps, electronics, exterior walls, and kitchens. Bedrooms are the most common choice for nighttime priority. Avoid placing them where you would never put a thermostat, because that is exactly what they are: remote thermostats.
Start with two: one in the most problematic room and one in a second priority space. Most homes see the bulk of the benefit from two to three sensors; beyond that you are chasing diminishing returns unless the house is large or multi-story. Sensor packs are sold in pairs, and you can always add more after living with the first set.
No. Sensors change what temperature the system targets, but the system still heats or cools the whole house as one zone. True zoning uses dampers to direct airflow where it is needed, which solves fundamentally different problems like a hot upstairs and cold downstairs simultaneously. Sensors are a $200 experiment; zoning is a $3,000-$6,000 commitment. Try the cheap fix first.
Sometimes, modestly. Features like occupancy-based averaging, which ignores empty rooms, can trim runtime, and better comfort often lets households nudge setpoints a degree. But sensors can also increase runtime if they prioritize a hard-to-condition room. Buy them for comfort; treat any energy savings as a bonus rather than the justification.
Only within the same ecosystem: each major smart thermostat brand uses its own proprietary sensors, and they do not cross over. Check compatibility with your exact thermostat model before buying, since some older models do not support sensors at all. If you are choosing a new thermostat partly for sensors, confirm the sensor features, averaging modes, and occupancy detection match your needs.