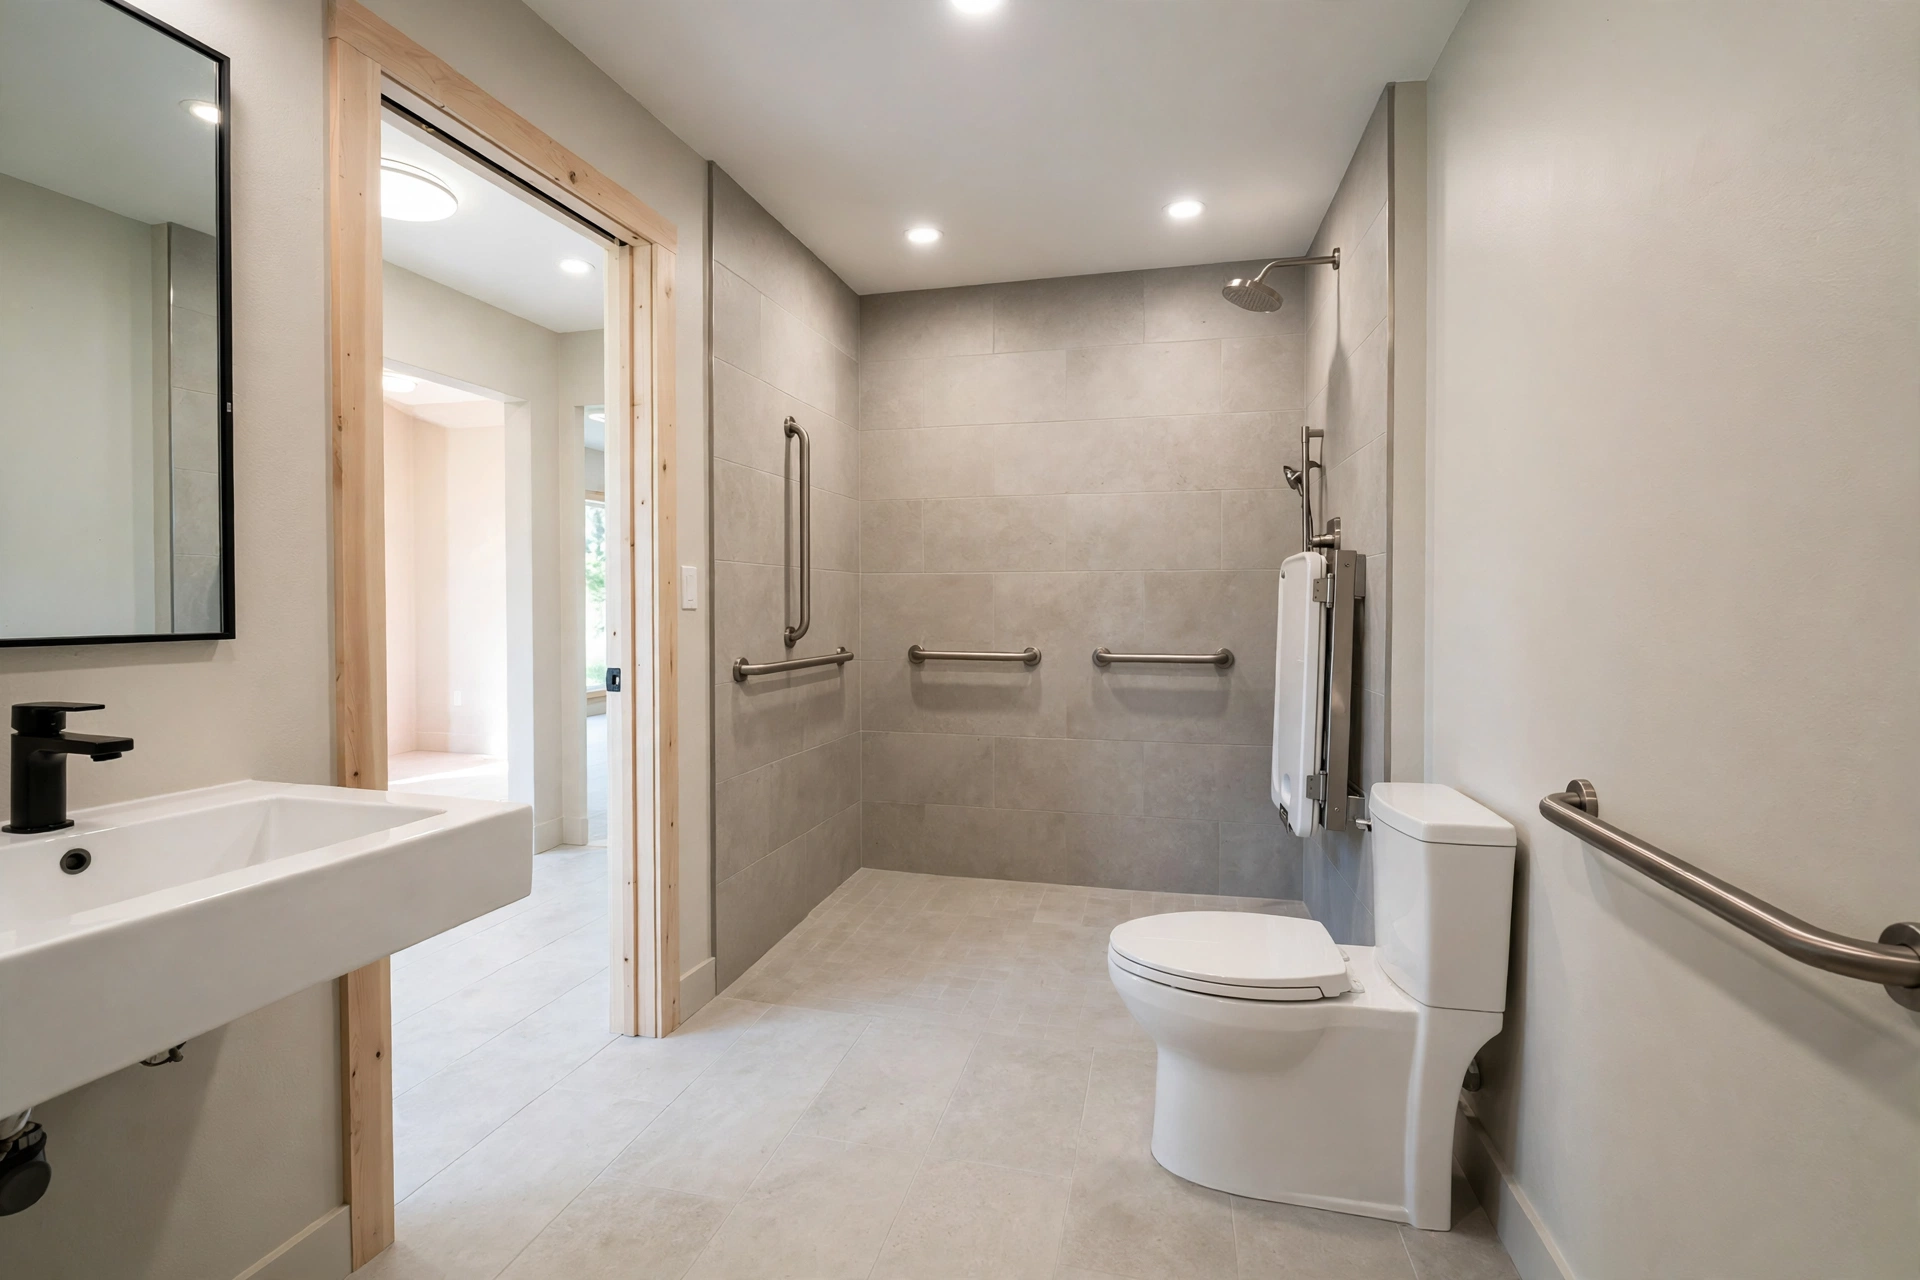
How to Make a Bathroom Wheelchair Accessible: 8-Step ADA-Based Guide (2026)
Key takeaways
- Widen the doorway to at least 32 inches of clear opening (36 inches recommended) and keep thresholds flush or beveled — nothing else matters until the chair can enter.
- Plan a 60-inch wheelchair turning circle kept free of permanent obstructions; floating the vanity and going curbless are the two biggest space reclaimers.
- Mount grab bars at 33–36 inches beside the toilet and in the shower, anchored into studs or blocking — drywall anchors alone will fail under body-weight loads.
- Match toilet seat height to the wheelchair seat (17–19 inches) and leave 30 by 48 inches of clear floor on the transfer side.
- Replace the tub with a curbless roll-in shower (minimum 30 by 60 inches) with a fold-down seat at 17–19 inches and a handheld showerhead on a slide bar.
- Swap the vanity cabinet for a wall-mounted sink with 27 inches of knee clearance, a 29–34 inch rim height, and lever or sensor faucets.
How to make a bathroom wheelchair accessible comes down to five changes: widening the doorway to at least 32 inches of clear opening, creating a 60-inch wheelchair turning circle, replacing the tub with a curbless roll-in shower, installing grab bars at 33–36 inches beside the toilet and in the shower, and swapping the vanity cabinet for a wall-mounted sink with open knee clearance. These five changes cover roughly 90% of the barriers a wheelchair user faces in a typical home bathroom, and they can be staged over time instead of done in a single remodel.
A wheelchair-accessible bathroom is not one magic fixture — it is a chain of small dimensions working together. If the doorway is wide enough but the sink cabinet blocks knee space, the room still fails. If the shower is curbless but the floor is slippery tile, independence is still out of reach. This guide walks through every link in that chain in the order you should tackle them, using the dimensional standards published in the ADA Standards for Accessible Design and ICC A117.1 as the reference baseline for residential work.
Step 1: Widen the Doorway to a 32-Inch Clear Opening
The doorway is the first and most common failure point. Most interior bathroom doors in US homes measure 28 or 30 inches wide, and a standard wheelchair needs a minimum clear opening of 32 inches measured from the face of the door to the opposite jamb with the door open 90 degrees. The comfortable, recommended width is 36 inches.
You have three paths depending on budget and wall structure:
- Offset (swing-clear) hinges — replace standard hinges with offset hinges to gain roughly 1–2 inches of clear width without touching the framing. A fast, renter-friendly fix that works when the frame is already close to 32 inches.
- Re-hang the door on a wider frame — widen the rough opening to accept a 32- or 36-inch door. This is structural carpentry work but remains the most common permanent fix.
- Pocket or barn-style doors — eliminate the swing arc entirely, which frees up to 9 square feet of usable floor space inside a small bath. Note that sliding doors must still provide the 32-inch clear opening and need latching hardware operable with a closed fist.
Thresholds must be flush or beveled — anything above a half inch is a roll-over hazard for wheelchair casters. If you can only afford one change this month, make it the doorway: nothing else in the bathroom matters until the chair can get through the door. For a deeper walkthrough of each method, see our guide on widening doorways for wheelchair access.
Stander Single Handle Non-Rotating Floor to Ceiling Grab Bar, No-Drill Tension Mounted Transfer Pole

Top interim-buy for wheelchair bathroom retrofits: 300-lb no-drill transfer pole, 4.6 stars, Prime; natural fit for the grab-bar/transfer step of the guide
*Affiliate Disclosure: As an Amazon Associate, Elevate Home earns from qualifying purchases. Pricing and availability subject to change.
Step 2: Create a 60-Inch Wheelchair Turning Circle
Once inside, the wheelchair user needs room to turn. The ADA standard calls for a 60-inch-diameter circular turning space, which also satisfies a T-shaped turning space alternative for tight layouts. In a 5-by-8-foot hall bath — the most common US layout — you will not get a full 60-inch circle without moving walls, but you can usually get functional maneuverability by:
- Removing or floating the vanity so knee space doubles as toe clearance (9 inches minimum vertical clearance under fixtures is the planning rule).
- Eliminating the tub and going curbless, which reclaims the entire tub footprint as maneuvering space.
- Mounting the toilet in a corner only if a side-transfer clear floor space of at least 60 inches wide remains beside it.
When measuring, roll the actual wheelchair through the space with the door closed — paper measurements miss real-world interference from towel bars, trash cans, and heater grilles. Keep the 60-inch turning circle free of all permanent obstructions; it is the single biggest determinant of whether the bathroom feels independent or merely visitable.
Step 3: Install Grab Bars Beside the Toilet and in the Shower
Grab bars are the highest-value, lowest-cost safety upgrade in any bathroom, and they are required infrastructure for wheelchair transfers. Placement follows the ADA mounting rules that contractors use everywhere:
- Toilet side wall: a horizontal bar at least 42 inches long, mounted 33–36 inches above the finished floor, with the back end no more than 12 inches from the rear wall.
- Toilet rear wall: a bar at least 36 inches long, 33–36 inches high, positioned behind the toilet.
- Shower: horizontal and vertical bars on the control wall and the back wall at the same 33–36 inch height band; an L-shaped or angled bar covers both seated and standing transfer heights.
Every bar must anchor into blocking or studs — drywall anchors alone are a fall waiting to happen, because grab bars are rated for full body-weight pull loads (250 pounds or more). If you are opening walls anyway, install blocking for future bars everywhere, even where you do not need them yet; it costs nearly nothing during a remodel and saves a second demolition later.
For households that cannot drill into walls — renters, tile over concrete, or quick interim safety — a no-drill tension-mounted transfer pole placed floor to ceiling beside the toilet or bed-to-bath path gives a sturdy vertical grip without permanent installation. It tensions between floor and ceiling in minutes and supports up to 300 pounds, which makes it one of the most practical first buys while planning larger renovations. Our complete placement diagrams are in the grab bar placement guide.
Step 4: Choose a Comfort-Height Toilet with Side Clearance
Standard toilets sit 14–15 inches to the top of the bowl; wheelchair transfers work best at 17–19 inches — roughly the height of a wheelchair seat — which is exactly what comfort-height (chair-height) models deliver. Match the toilet height to the user's chair seat height within an inch or two to minimize the lift during lateral transfers.
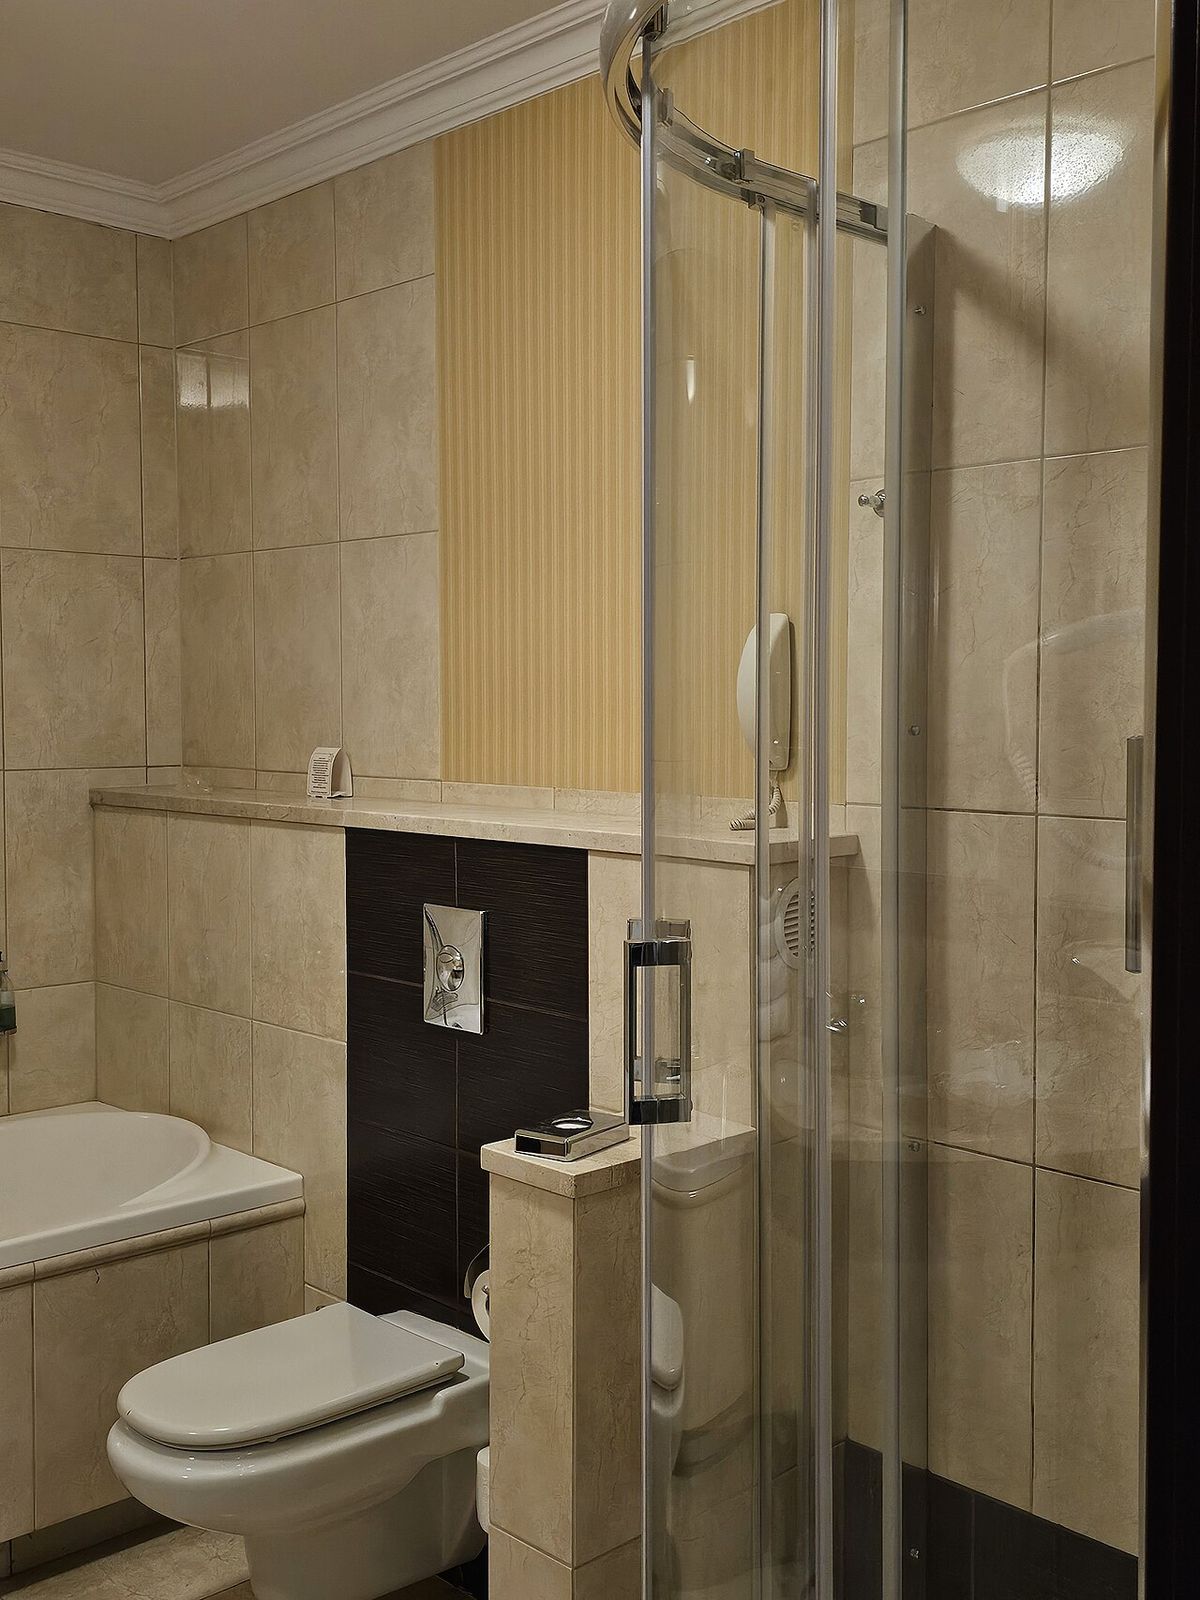
Equally important is the clear floor space beside the toilet: plan at least 30 by 48 inches of level, obstruction-free floor on the transfer side. Wall-hung toilets are worth considering here because the floating bowl leaves the floor completely clear underneath, which improves footrest swing and gives caregivers or attendants room to assist. Pair the toilet zone with the rear and side grab bars from Step 3, and add a toilet safety rail frame as an interim measure if a full replacement is months away.
Step 5: Replace the Vanity with a Wall-Mounted Sink
Conventional vanity cabinets are wheelchair-incompatible by design: the doors and plumbing block the knee space a seated user needs. The fix is a wall-mounted or pedestal sink with open space beneath, sized to these clearances:
- Knee clearance: at least 27 inches from the floor to the underside of the sink, 30 inches wide, 11 inches deep at the top tapering to 8 inches at the bottom.
- Rim height: 29–34 inches above the finished floor — lower than the 36-inch standard vanity most homes have.
- Plumbing protection: insulate or shield exposed hot-water and drain pipes under the sink so knees and legs cannot contact them.
- Faucet controls: single-lever, touch, or sensor faucets operable with a closed fist — no tight grasping, pinching, or wrist twisting.
Tilt the mirror down or mount it with the bottom edge no higher than 40 inches so it is usable from a seated position. Move daily-use storage — medications, toiletries — into shallow wall cabinets or open shelving within a 15-to-48-inch reach range instead of under the sink where a seated user cannot get to it.
Step 6: Convert the Tub to a Curbless Roll-In Shower
The bathtub is the single biggest barrier in most bathrooms: a 15-inch tub wall is effectively a wall for a wheelchair user. The gold standard replacement is a curbless (zero-threshold) roll-in shower, where the shower floor sits flush with the bathroom floor so the chair rolls straight in with no lip at all. A curbless shower design guide covers drainage slopes and waterproofing in detail; the planning points that matter most for wheelchair use are:
- Size: 36 by 36 inches is the code minimum for a transfer shower, but 60 by 30 inches (a roll-in shower) is the size that lets a wheelchair and an attendant comfortably share the space.
- Seat: a fold-down or built-in bench at 17–19 inches high on the control wall, so the user can transfer off the chair and bathe seated.
- Controls: a handheld showerhead on an adjustable slide bar plus a pressure-balanced or thermostatic valve reachable from the seated position, within 15–48 inches of reach.
- Drainage: slope the floor 1/4 inch per foot toward a linear or center drain; the flush entry depends on precise grading, so this is contractor work, not DIY.
If a full conversion is not in the budget yet, a transfer bench spanning a standard tub plus a handheld showerhead buys meaningful interim independence at a fraction of the cost. Plan the curbless conversion as the permanent goal and treat the bench as a bridge, not the endpoint.
Step 7: Fix the Flooring, Lighting, and Reach Details
With the big geometry solved, the details determine daily safety. Slip-resistant flooring is non-negotiable: choose tile with a dynamic coefficient of friction (DCOF) of 0.42 or higher, or textured vinyl, and eliminate loose bath mats that catch caster wheels — use a mat with a non-slip rubber backing that lies completely flat if you need one.
Lighting should be bright, even, and shadow-free — recessed ceiling lights plus a lit mirror eliminate the dark corners where a seated user misjudges distances. Add a night light on the path from bedroom to bathroom; most nighttime falls happen on this route. Mount towel hooks, the toilet paper holder, and storage between 15 and 48 inches above the floor, the universal forward-reach range. Finally, set the water heater to 120°F and use anti-scald valves — reduced sensation in the legs is common among wheelchair users, which raises scald risk in the shower.
Step 8: Budget the Project in Stages
A full wheelchair-accessible bathroom remodel typically falls into three cost tiers: grab bars, offset hinges, a raised toilet seat, and a handheld showerhead form the weekend-tier work most households can handle first; doorway widening, a wall-mounted sink, and comfort-height toilet replacement form the mid-tier contractor work; and the curbless shower conversion plus floor regrading form the major-remodel tier. Doing the project in this order means every dollar spent early keeps working when the later stages happen — nothing gets torn out twice.
If an aging parent or a post-surgery recovery is driving the timeline, consider a Certified Aging-in-Place Specialist (CAPS) contractor for the design; they work from the same dimensional standards in this guide and know which local inspectors care about residential accessibility details. Check whether the household qualifies for VA grants, Medicaid waiver programs, or state home-modification assistance before paying out of pocket — many programs cover exactly the grab bars, ramps, and bathroom modifications described here. Our fall-proofing checklist is a useful companion audit to run room by room before the contractor arrives.
The Verdict: What to Do First, This Week
If you are learning how to make a bathroom wheelchair accessible for a parent coming home from rehab or for your own progressive condition, do not wait for the perfect full remodel. This week: install offset hinges if the doorway is close to 32 inches, mount properly anchored grab bars at the toilet and shower, and place a no-drill transfer pole where the most difficult standing pivot happens. Next month: the comfort-height toilet and wall-mounted sink. This year: the curbless shower. Each stage independently makes the bathroom safer, and together they add up to a bathroom a wheelchair user can genuinely use alone — which is the entire point.
Frequently asked questions
How wide does a bathroom door need to be for a wheelchair?
The ADA calls for a 32-inch minimum clear opening, measured with the door open 90 degrees, and 36 inches is the recommended residential width. Most existing bathroom doors are 28–30 inches, so offset hinges can gain 1–2 inches, and widening the frame is the permanent fix.
How much turning space does a wheelchair need in a bathroom?
The ADA standard is a 60-inch-diameter turning circle, or a T-shaped turning space as an alternative. In small hall baths, floating the vanity and going curbless often frees enough floor area to make real-world turning workable even if a perfect circle is not possible.
Can I make a bathroom safer without drilling grab bars into the wall?
Yes. A no-drill tension-mounted transfer pole installs between floor and ceiling in minutes, supports up to 300 pounds, and gives a solid vertical grip for standing pivots and transfers beside the toilet or tub. It is an excellent interim solution for renters, but it does not replace properly anchored wall grab bars, which handle full lateral pull loads during transfers.
What height should the toilet be for wheelchair transfers?
Toilet seat height should be 17–19 inches, matching the wheelchair seat height within an inch or two — this is what comfort-height (chair-height) toilets provide versus the 14–15 inch standard bowl. Pair it with grab bars at 33–36 inches and at least 30 by 48 inches of clear floor space on the transfer side.
How much does it cost to make a bathroom wheelchair accessible?
Expect three tiers: weekend-tier work (grab bars, offset hinges, raised seat, handheld showerhead) is the lowest cost; mid-tier contractor work (doorway widening, wall-mounted sink, comfort-height toilet) sits in the middle; and a curbless shower conversion with floor regrading is the major-remodel tier. Doing the work in that order avoids tearing anything out twice. VA grants and Medicaid waiver programs may cover qualifying modifications.
Keep reading
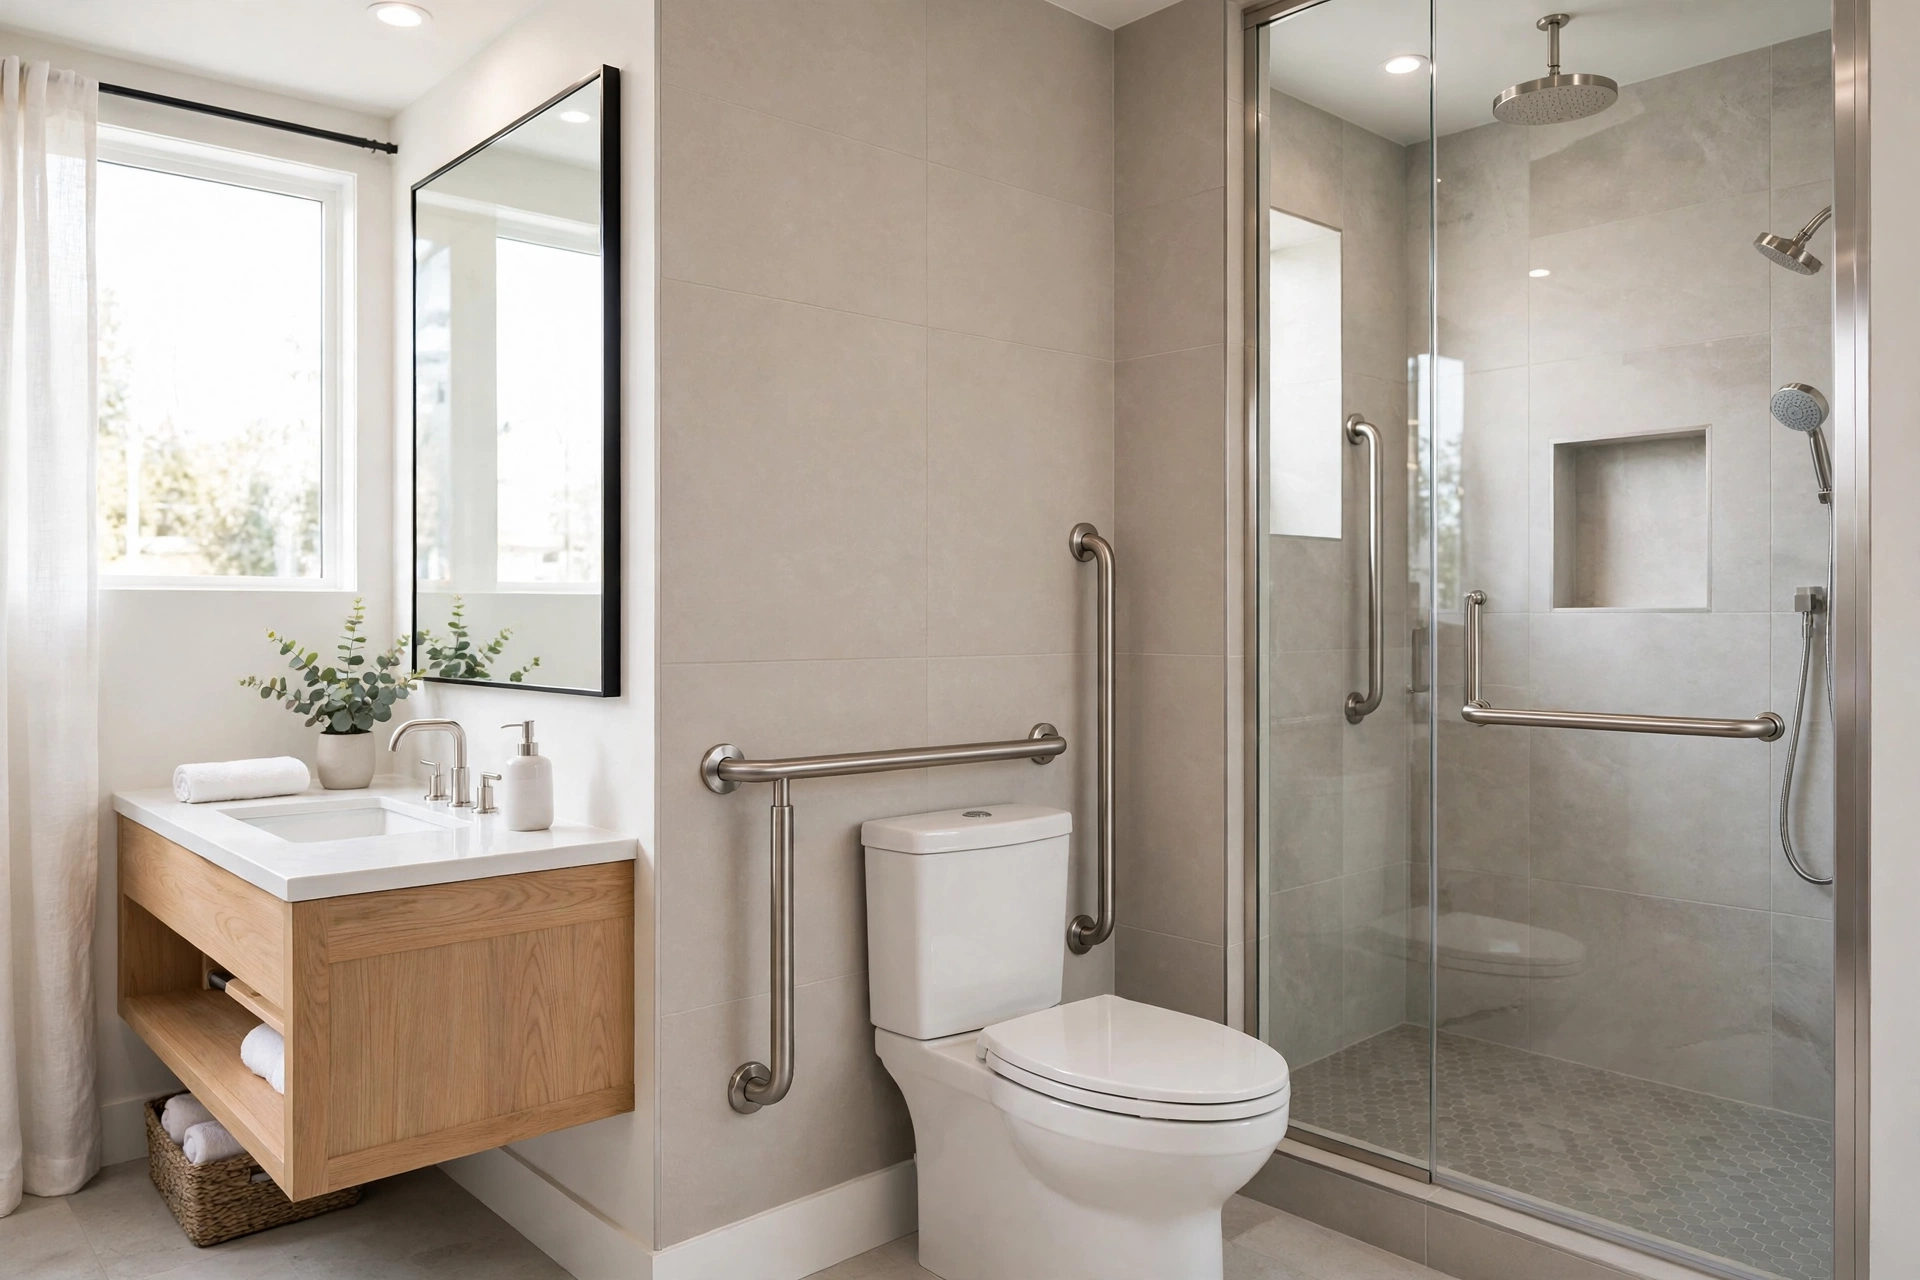
Safety Guide
Grab Bar Placement Guide: Safe, Elegant Bathroom Layouts
Grab bar placement guide: shower, toilet, hallway, and stair positioning—plus mounting, heights, designer fini…
Access & Mobility
Widening Doorways for Wheelchair Access: A Luxury Guide
Widening doorways for wheelchair access starts with the 36-inch standard. Learn door styles, structural rules,…
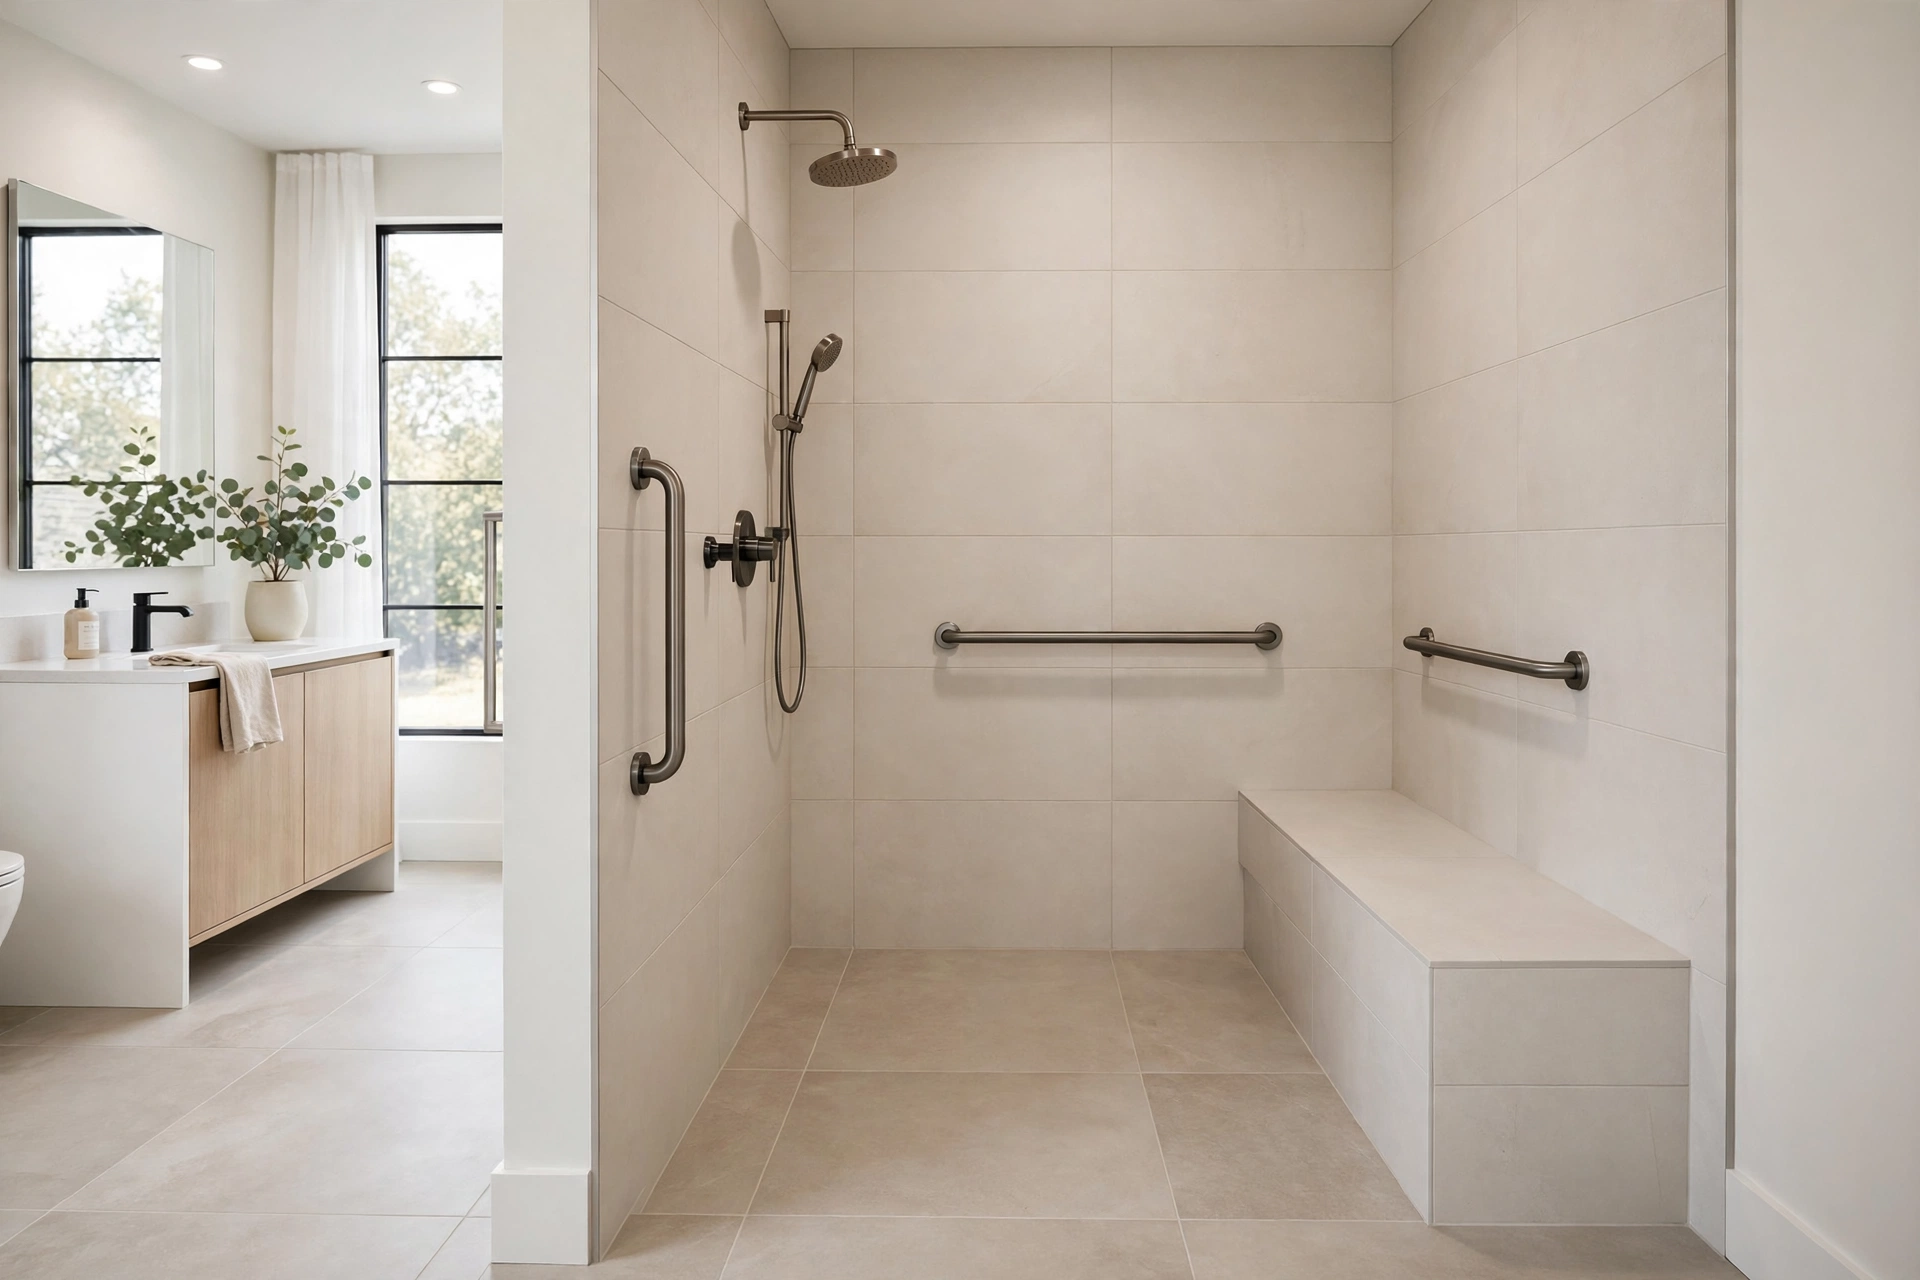
Design Guide
Curbless Shower Ideas: Luxury Accessible Bathroom Design
Designer curbless shower ideas for 2026: linear drains, statement tile, built-in benches, sculptural grab bars…
Bathroom Safety
Best Toilet Safety Rails for Elderly 2026: 5 Frames Compared (Vive Pick)
The best toilet safety rails for elderly users compared for 2026: sizing, weight capacity, installation, and t…
Interactive Tool
Aging in Place Renovation Cost Estimator 2026 Guide
Budget your aging-in-place renovation with our interactive estimator. Price accessible bathrooms, kitchens, el…
Transfer Equipment
100A vs 200A Automatic Transfer Switch
100 amp vs 200 amp transfer switch: service-entrance vs subpanel topology, when each is required, costs, and l…