Leak-Proofing a Room for a Big Fish Tank: Water Damage Prevention
Key takeaways
- A big tank holds 55 to 180+ gallons — 459 to 1,500+ pounds of water — so leak-proofing is room protection, not accessory shopping.
- Slow leaks cause more damage than catastrophic seam failures: a one-gallon-per-hour drip puts 24 gallons into your floor every day, hidden behind the stand.
- Layer the defense: a lipped containment tray under the stand and sump, water-tolerant flooring, and sensors in the tray, at the floor's low point, and by the filter.
- Water changes flood more floors than equipment does — clamp the fill hose, never leave it running unattended, and shut the valve before walking away.
- Pair audible sensors with phone alerts, test them monthly like smoke alarms, and confirm your insurance covers sudden aquarium discharge before setup.
Leak-proofing a room for a big fish tank means assuming water will escape one day and making sure that day costs you a towel, not a remodel. A large aquarium holds more water than most people picture, it sits in one spot for years, and its plumbing runs silently behind a stand you rarely move. The fix is not one product — it is layers: contain the water at the stand, protect the floor underneath, detect a leak in minutes, and know exactly what to do when a sensor goes off at 2 a.m.
Start with the stakes, because they decide how seriously to take every layer below. A catastrophic seam failure is rare, but it is not the main risk. The everyday risks are far more boring: a canister filter hose that works loose, a bulkhead fitting that weeps for weeks, an auto-top-off that sticks open, a water-change bucket tipped by a dog. Each one releases water slowly enough to ruin a subfloor before anyone notices, which is why detection matters as much as containment.
How Much Water a Big Tank Really Holds
Water weighs about 8.34 pounds per gallon, so the numbers climb fast — and the total load on the room includes substrate, rock, the stand, and the water itself. This is the volume that could be on your floor after a failure, and it is also why placement and floor strength deserve attention before the tank is ever filled. Our guide to how much a large aquarium weighs and what your floor needs to hold covers the structural side in full.
Slow leaks deserve their own mental math. A fitting that drips one gallon per hour puts 24 gallons into your floor every day — and because it hides behind the stand, it can run for a week before the smell or the warped baseboard gives it away. By then the damage is not a puddle, it is mold food inside a wall cavity. Everything below is designed around that asymmetry: fast detection beats heroic cleanup.
Govee WiFi Water Leak Detector 3-Pack with Hub
Catalog-verified 2026-10-25 (amazon_verified_products.csv, VERIFIED live-listing status): WiFi leak detector 3-pack with hub, 100dB local siren plus phone app alerts — the exact early-warning sensor this guide recommends under the stand and in the water-change zone. Live Amazon fetch returned bot-check pages on both attempts, so no star rating is claimed.
*Affiliate Disclosure: As an Amazon Associate, Elevate Home earns from qualifying purchases. Pricing and availability subject to change.
Where Big Tanks Actually Leak
Knowing the failure points tells you where to put trays, sensors, and shutoffs instead of guessing. Work through this list against your own setup:
- Seam failure. The rarest and worst case — a silicone seam lets go and the tank drains fast. You cannot sensor-proof a seam failure; you contain it with a tray and a floor that tolerates water, and you buy it time with a stand that keeps the tank level (an unlevel tank stresses seams unevenly for years).
- Bulkheads and drilled plumbing. Every hole drilled through glass is a potential weep point. Bulkhead gaskets dry out, harden, and shrink over years. Inspect them at every deep clean and keep a spare gasket kit on hand.
- Canister and sump hoses. The most common leak source in home aquariums. Hoses slip off barbs, quick-disconnect seals wear, and a filter that gets bumped during maintenance can start a slow drip that nobody sees. Hose clamps on every connection, and hoses routed so a drip falls into a tray, not behind the stand.
- Overflows and auto-top-off systems. A stuck float valve or a siphon that fails to break can pump a reservoir's worth of water into the tank and onto the floor. Size your top-off reservoir so that even a full dump cannot overflow the tank, and put the reservoir itself inside a tray.
- Water changes. The human-error leak: a siphon hose that slips out of the drain, a bucket knocked over, a fill hose left running while you answer the door. More water hits floors during water changes than from equipment failure in most homes.
- Condensation and splashing. Not a leak, but a slow moisture source: open-top tanks evaporate gallons per week, and the damp air condenses on nearby walls and windows. Ventilation and a lid cut this dramatically.
Layer 1: Contain It at the Stand
Containment is the cheapest layer and the one most people skip. The goal is simple: any water that escapes the tank or its plumbing should land in something with a lip, not directly on your floor.
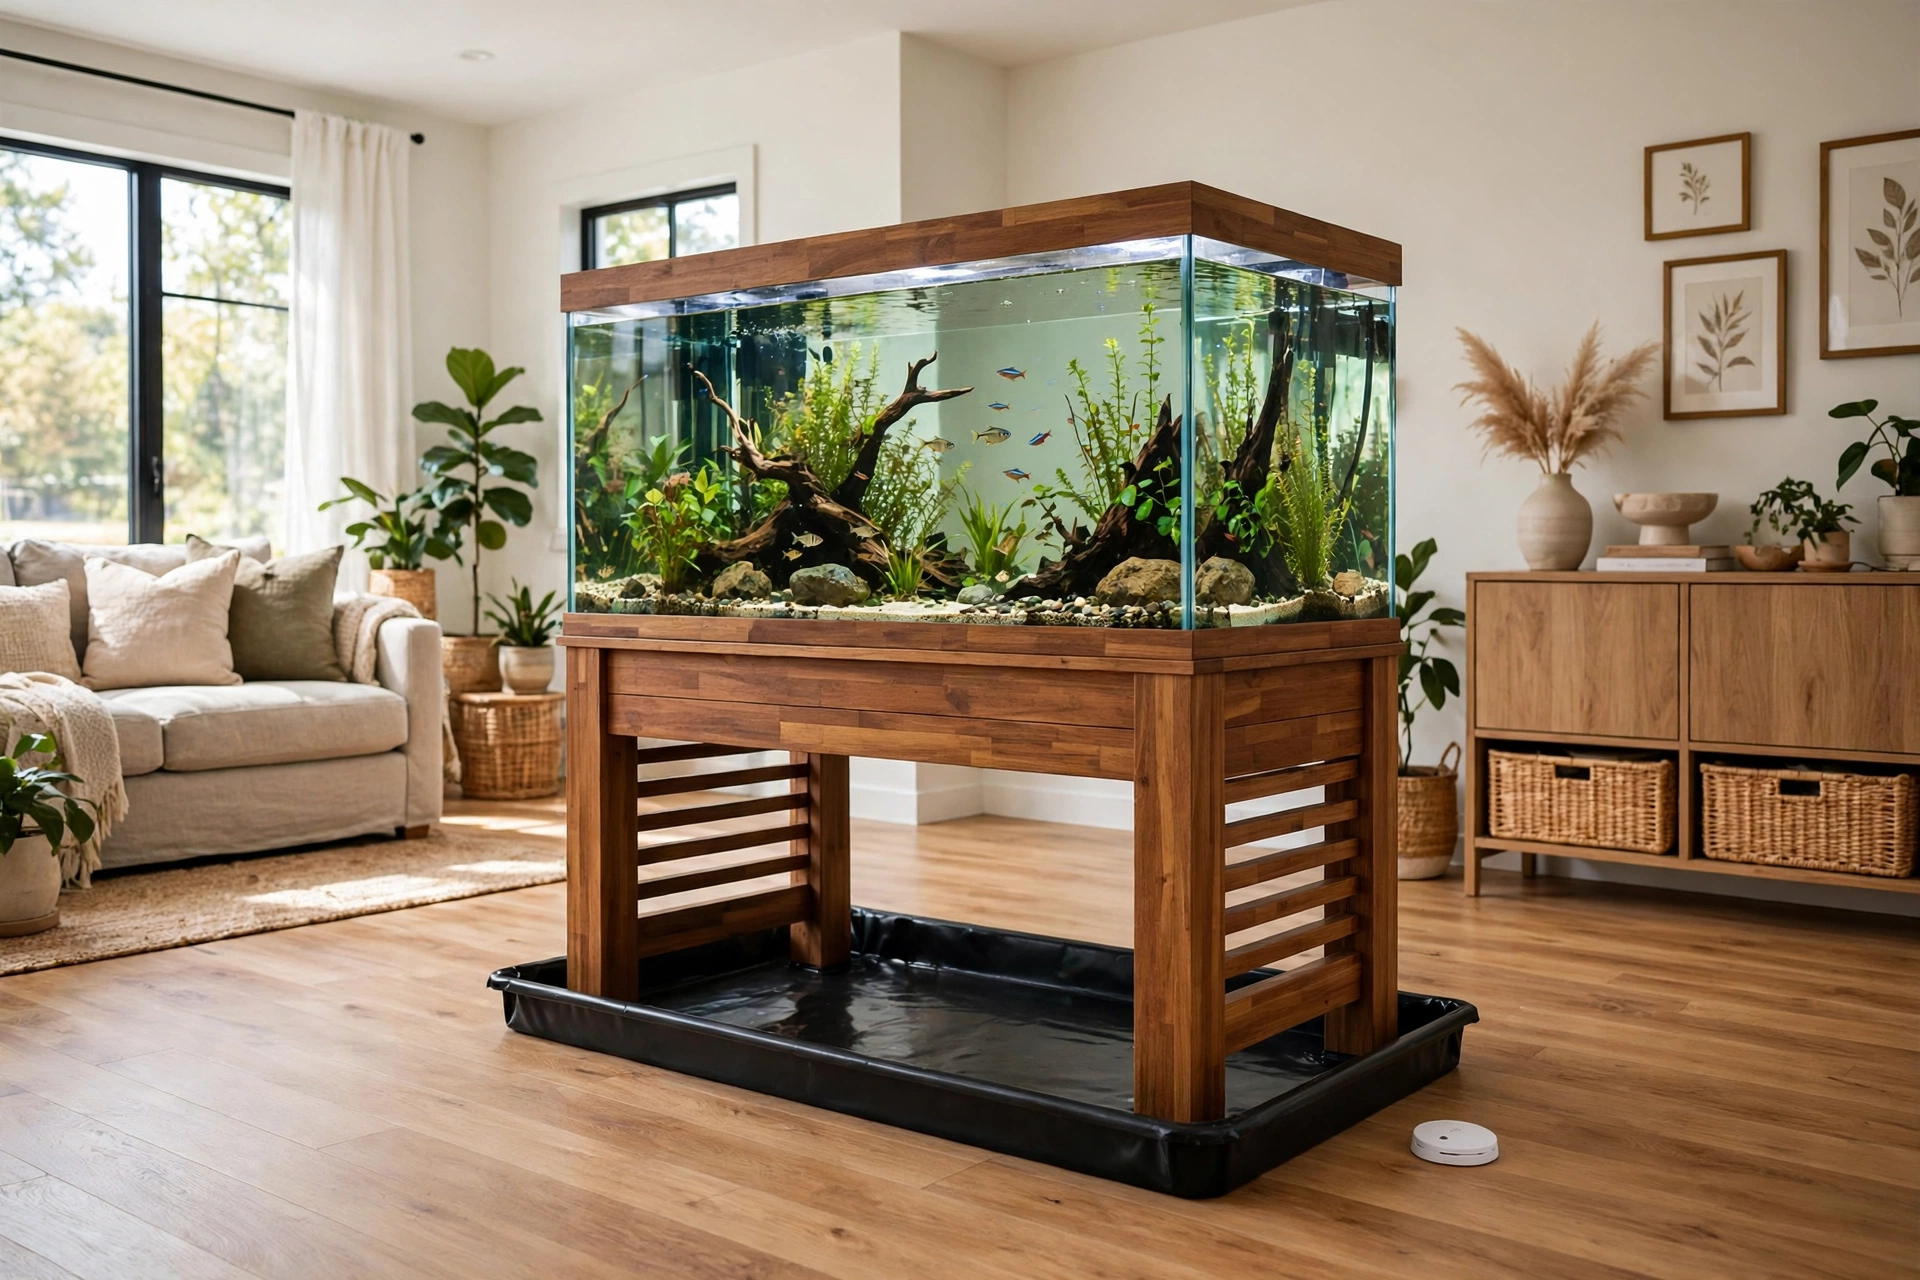
- A containment tray under the stand. A shallow, rigid tray or a pond-liner pan sized to the stand's footprint catches drips from hoses, filters, and minor seam weeps. For a sump setup, the tray must extend under the sump, not just the display tank — the sump is where the plumbing lives.
- A lip, not a mat. A flat waterproof mat under the stand looks protective and does almost nothing: water runs straight off its edge. You need a raised edge of at least an inch to hold a meaningful volume while a sensor alerts you.
- Route hoses over the tray. A tray only works if the leak lands in it. When you redo plumbing, run hoses so their connections and lowest sag points sit above the tray's footprint.
- Contain the water-change zone too. Keep a second shallow tray or a large waterproof boot tray where buckets and the fill hose live during maintenance. Most spill damage happens three feet from the tank, not under it.
Layer 2: Protect the Floor and Walls
If containment is the tray, this layer is the room itself. It matters most for tanks over 75 gallons and for any tank on an upper floor, where a leak becomes the downstairs neighbor's ceiling.
- Flooring choice. Tile and quality luxury vinyl plank tolerate standing water far better than hardwood or carpet. If the tank sits on hardwood, a waterproof membrane or a sheet of pond liner under the stand — extending a foot beyond it on all sides — is cheap insurance. Carpet under a big tank is the worst case: it hides leaks, holds moisture, and usually has to be replaced after any significant event.
- Baseboards and wall protection. Water wicks up drywall fast. A bead of silicone where baseboards meet the floor behind the tank, and a waterproof wall panel or tile backsplash on the wall the tank backs onto, stop a small leak from becoming a wall-cavity problem.
- Keep the tank near a drain or a door. When you choose the spot, proximity to a floor drain, a bathroom, or an exterior door changes how fast you can move water out during an emergency. A tank in a carpeted interior room with no nearby drain is the hardest room to rescue.
- Check the structure below. On an upper floor, confirm the joists and subfloor can carry the load and that a leak path does not run straight into electrical fixtures below. The floor-strength math and the electrical rules are companions to this guide — see the floor-load guide above and our aquarium electrical safety guide for the GFCI and drip-loop side of the same room.
For a broader look at keeping water out of finished spaces, our guide to interior versus exterior basement waterproofing covers membranes, drainage, and where each approach actually works — the same principles, applied to the room instead of the tank.
Layer 3: Detect It in Minutes, Not Days
Containment buys you time; detection tells you to use it. A sensor that screams the moment water touches the floor turns a week-long hidden leak into a ten-minute mop-up.
- Sensor placement beats sensor count. Put one sensor in the containment tray, one on the floor at the lowest point near the stand, one under or beside the canister filter or sump, and one near the water-change area. Water runs to the lowest point, so think like water: which way does this floor slope?
- Audible plus phone alerts. A sensor that only beeps helps when you are home. A WiFi sensor that also pushes a phone alert helps when you are at work — which is when most leaks do their worst damage. Our guide to where to place water sensors in your home covers positioning room by room.
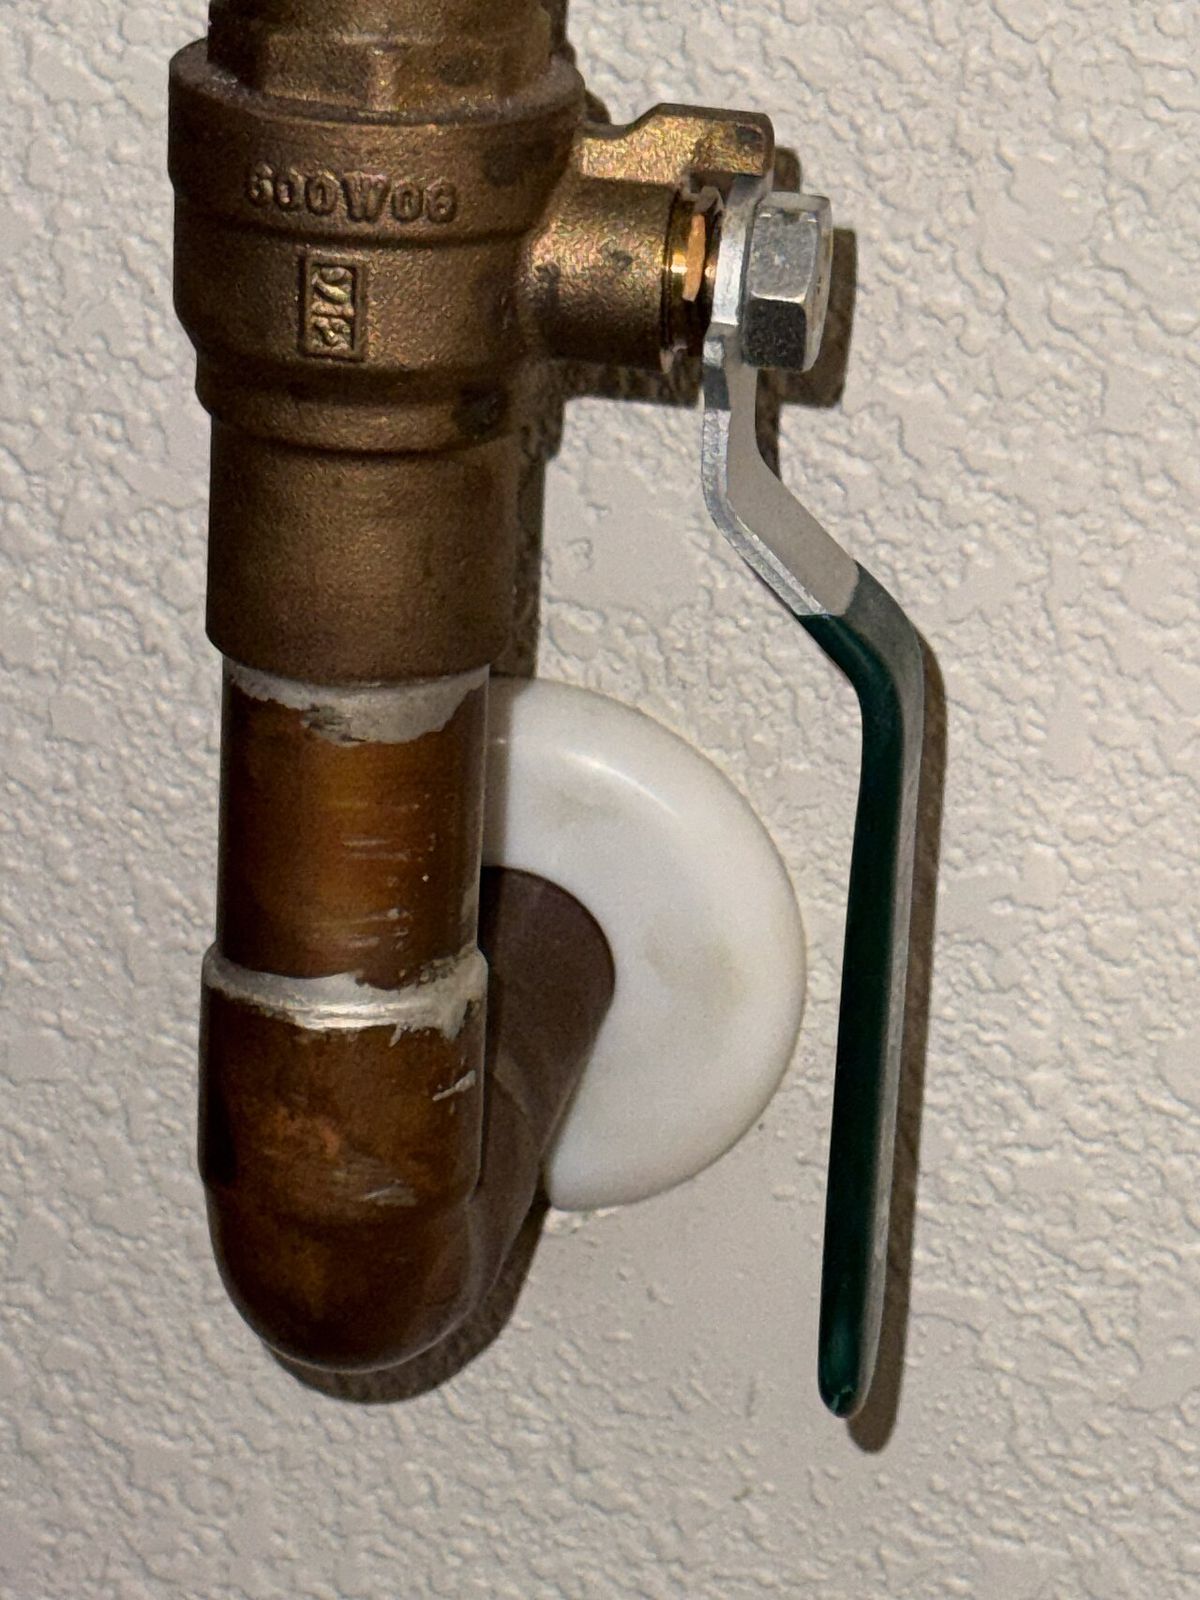
- Automatic shutoff for plumbed systems. If your tank has a plumbed fill line or an auto-top-off fed from the house supply, a sensor-linked shutoff valve can stop the water at the source instead of just telling you about it. Our guide to leak detection with automatic shutoff explains the options and the install.
- Test sensors like smoke alarms. Put sensor testing on the same schedule as your GFCI test: monthly, a damp cloth on the probes, confirm the alert fires. A dead battery in a leak sensor is the same as no sensor.
Water Changes Without Flooding the Room
Because maintenance causes more floor water than equipment does, make water changes a procedure, not an improvisation. Use a hose-to-drain changer instead of buckets where possible, keep the fill hose in hand or clamped — never balanced on a rim while you walk away — and shut the fill valve off before you move on to the next task. A fill hose left running unattended is the single most preventable flood in the hobby, and it has nothing to do with equipment quality.
Refill water deserves the same deliberate treatment as the plumbing. Before you pour fresh water back in, it pays to know what is actually coming out of your tap — chlorine, hardness, and pH all shape how a planted tank responds to a water change, and a test you do once can prevent a season of guesswork. This walkthrough of your home's tap water parameters, explained for planted tanks is the quickest way to read your own tap before it goes into the tank.
Insurance, Renters, and Documentation
Do this paperwork before you need it, because after a leak nobody is in the mood for forms. Call your homeowners or renters insurer and ask two questions: does the policy cover sudden water discharge from an aquarium, and does it exclude slow leaks or mold resulting from them? Many policies cover the sudden burst but not the slow seep that ran for a month — which is one more reason detection matters. Renters should get the tank in writing from the landlord, with the size and the room noted, and should photograph the setup, the tray, and the sensors on day one. Those photos are your evidence that the installation was careful, not careless.
When a Leak Happens Anyway
Even a well-layered room can fail, so rehearse the response once while nothing is wrong. In order:
- Kill the power safely. If water is near outlets or the power strip, do not reach through water to unplug things — trip the GFCI or the breaker first. This is exactly why the electrical plan in our aquarium electrical safety guide comes before the plumbing plan.
- Stop the source. Close the fill valve, unplug the failing pump or filter, or isolate the bulkhead. A towel on a seam leak slows nothing; stopping the inflow does.
- Contain and remove water. Towels and a wet-dry vacuum for the bulk, then fans and a dehumidifier on the area for at least 48 hours. The drying window matters: mold can establish in damp drywall and subfloor within a day or two, so "it looks dry" is not dry.
- Document before you repair. Photos of the failure point, the water path, and the damage, for the insurer, before anything is moved or dried.
- Inspect before refilling. A tank that leaked from a seam or a bulkhead does not go straight back into service. Reseal or replace the failed part, water-test it somewhere a leak cannot hurt anything (a garage floor, outdoors), and only then return it to the room.
Leak-Proofing Checklist
- Containment tray with a raised lip under the stand and the sump, hoses routed over it.
- Floor protection under and around the stand — membrane, liner, or water-tolerant flooring, never bare carpet.
- Leak sensors in the tray, at the floor's low point, by the filter or sump, and in the water-change zone, with phone alerts.
- Automatic shutoff on any plumbed fill or top-off line.
- Hose clamps on every connection; spare bulkhead gaskets on hand.
- Top-off reservoir sized so a full dump cannot overflow the tank.
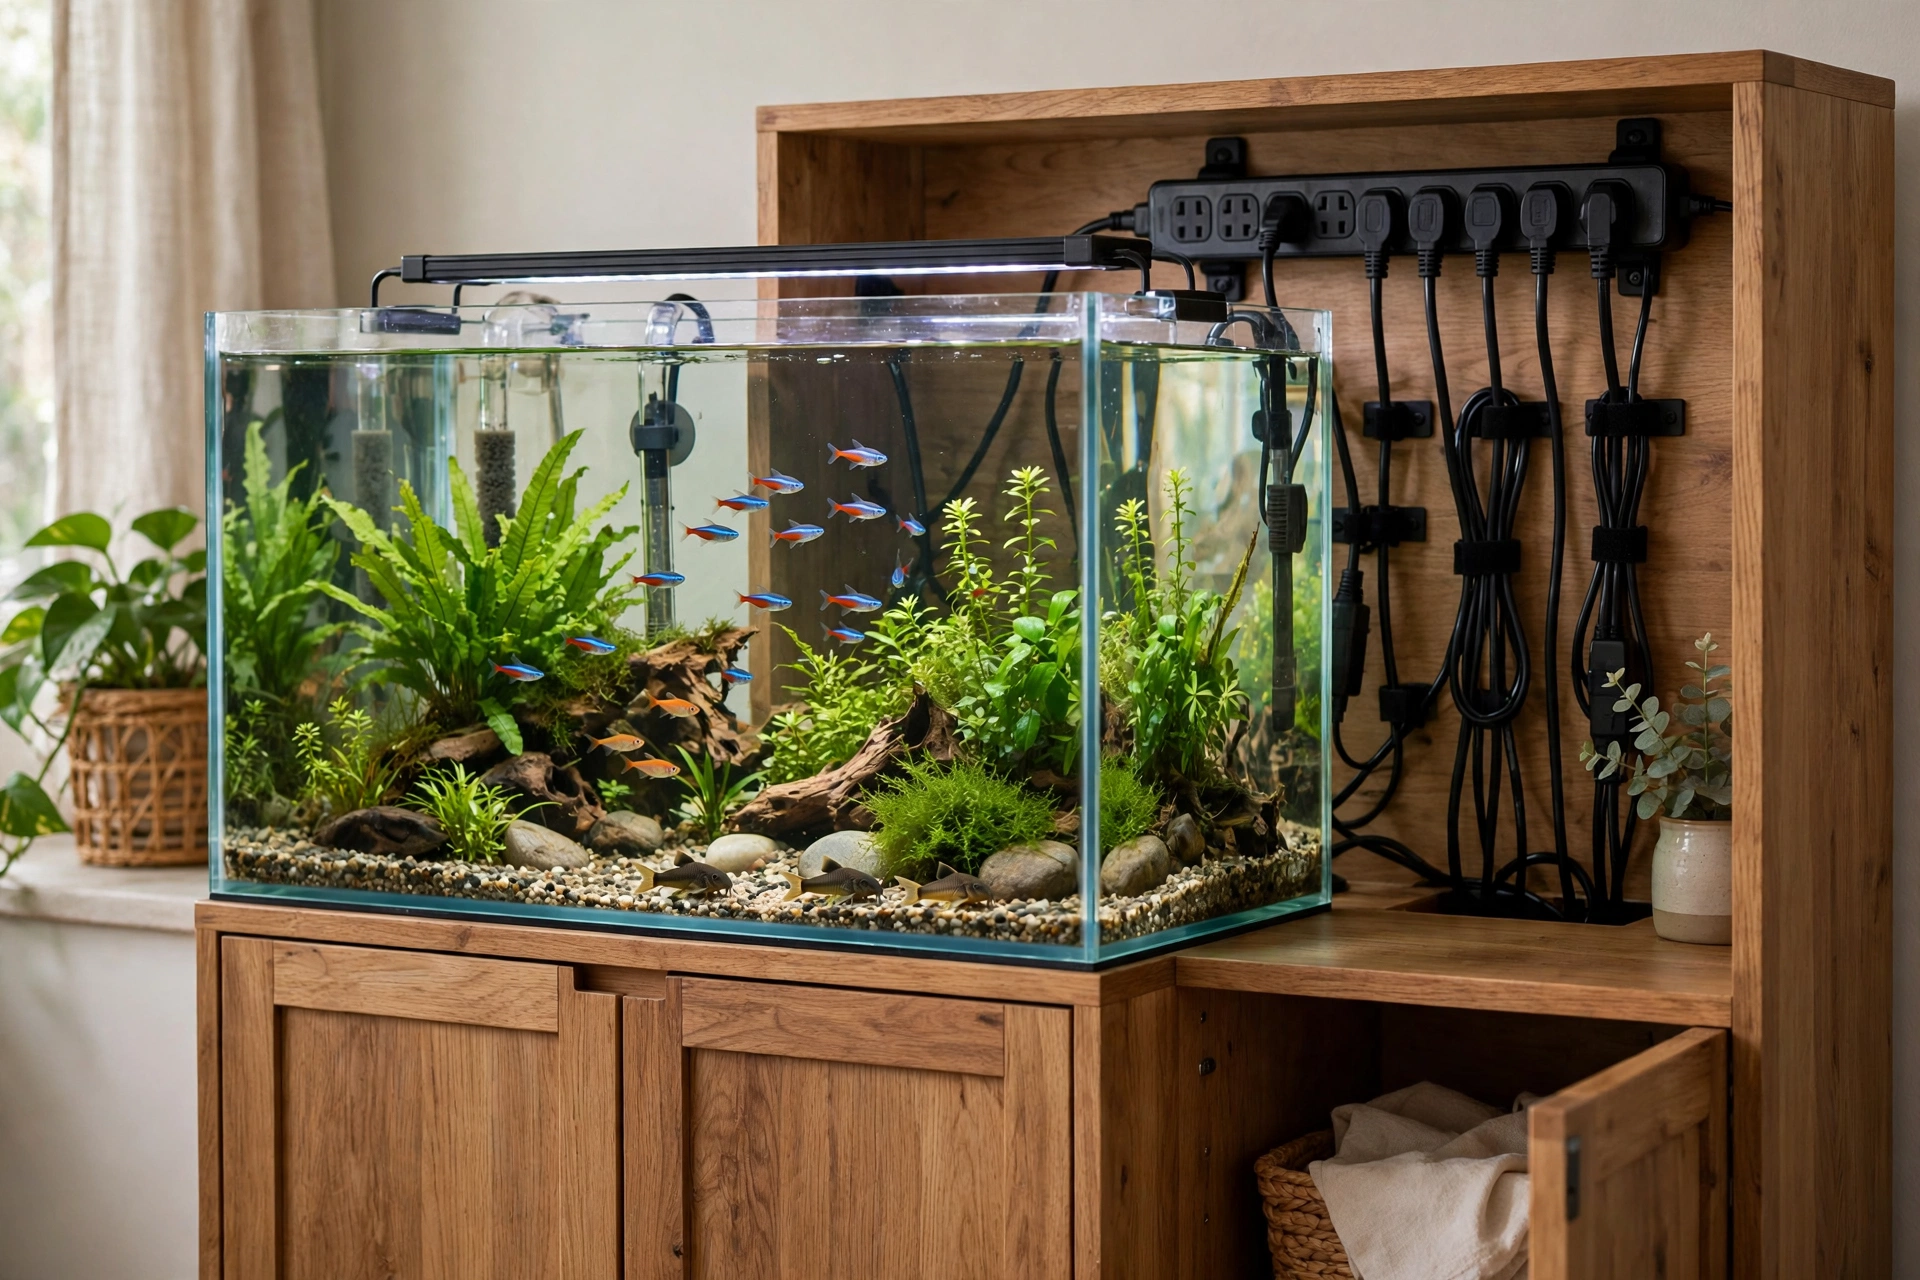
- GFCI protection on every tank outlet, power strip mounted above rim height, drip loops on every cord.
- Water-change procedure written down: hose clamped, valve shut before walking away, never leave a running fill hose unattended.
- Sensors and GFCI tested monthly; insurance coverage confirmed and setup photographed.
None of this is expensive next to the floor it protects. A tray, a few sensors, and an afternoon of hose routing turn the worst realistic aquarium accident — tens of gallons on the floor — into a story you tell at dinner instead of a claim you file for months. Build the layers before the tank is full, test them like alarms, and the room will be ready for the day water escapes, whenever that day comes.
Frequently asked questions
Can a fish tank leak through the floor to the room below?
A catastrophic seam failure can, but it is the rarest failure mode. The far more common path is a slow plumbing or hose leak that soaks the subfloor over days or weeks and eventually stains or collapses the ceiling below. Upper-floor tanks deserve the full layering in this guide — tray, sensors, and water-tolerant flooring — precisely because the room below is at stake.
Do I need a waterproof tray under my aquarium?
Yes, if it has a raised lip. A flat mat looks protective but lets water run straight off its edge. A rigid tray or pond-liner pan with at least an inch of lip, sized to the stand's footprint and extended under the sump, catches drips from hoses and minor seam weeps and buys time for a sensor to alert you.
How often do aquariums actually leak?
Most aquarium leaks come from plumbing, not glass: hoses slipping off barbs, bulkhead gaskets aging, canister seals wearing, and auto-top-off valves sticking. Water-change spills are another major source. That is why this guide emphasizes hose clamps, sensor placement, and shutoff discipline over worrying about the glass itself — though an unlevel stand that stresses seams unevenly is worth fixing.
Will homeowners insurance cover aquarium water damage?
Often, but with a catch: many policies cover sudden water discharge (a burst hose or failed seam) while excluding damage from a slow leak that ran for weeks, or excluding resulting mold. Call your insurer before setup, ask specifically about aquarium discharge and slow leaks, and photograph your tray, sensors, and setup as evidence of a careful installation.
Where should I put water leak sensors around a fish tank?
Think like water: one sensor inside the containment tray, one on the floor at the lowest point near the stand, one beside the canister filter or sump, and one in the water-change area. Pair audible alarms with phone alerts so a leak while you are at work gets the same fast response as one while you are home, and test sensors monthly.
Keep reading

Structural Safety
How Much Does a Large Aquarium Weigh? Floor Load Guide for Homeowners
A filled 55-gallon aquarium weighs 550-650 lbs. Tank weight table, IRC floor-load rules, and placement checkli…
Electrical Safety
Aquarium Electrical Safety: GFCI Outlets, Drip Loops & Power Near Water
GFCI protection, drip loops, and NEC rules for aquarium equipment: how to run heaters, filters, and lights saf…
Leak Protection
Leak Detection & Auto Shutoff: 2026 Guide
Compare automatic water shutoff valves vs leak sensors for 2026: how flow detection works, installed costs, in…
Leak Protection
Water Sensor Placement Guide: 2026
Where to place water leak sensors in your home: exact spots room by room, sensor types, hub vs standalone syst…
Transfer Equipment
100A vs 200A Automatic Transfer Switch
100 amp vs 200 amp transfer switch: service-entrance vs subpanel topology, when each is required, costs, and l…
Pillar 01 · Energy Resilience
10kWh vs 13.5kWh vs 20kWh Home Battery: Which Size Is Right? (2026)
10kWh vs 13.5kWh vs 20kWh home battery compared: usable capacity, backup runtime, solar pairing, and which tie…